
Walk-in Showers in Aurora
Short answer
A custom walk-in shower replaces a cramped stall or unused tub with a fully waterproofed tiled enclosure, 10 mm frameless glass, recessed niches and a built-in or fold-down bench. In Aurora, our 9 x 12 ft four-piece ensuite labour package with a curbless walk-in shower starts at $11,500.
Why Aurora homeowners upgrade to custom tiled walk-in showers
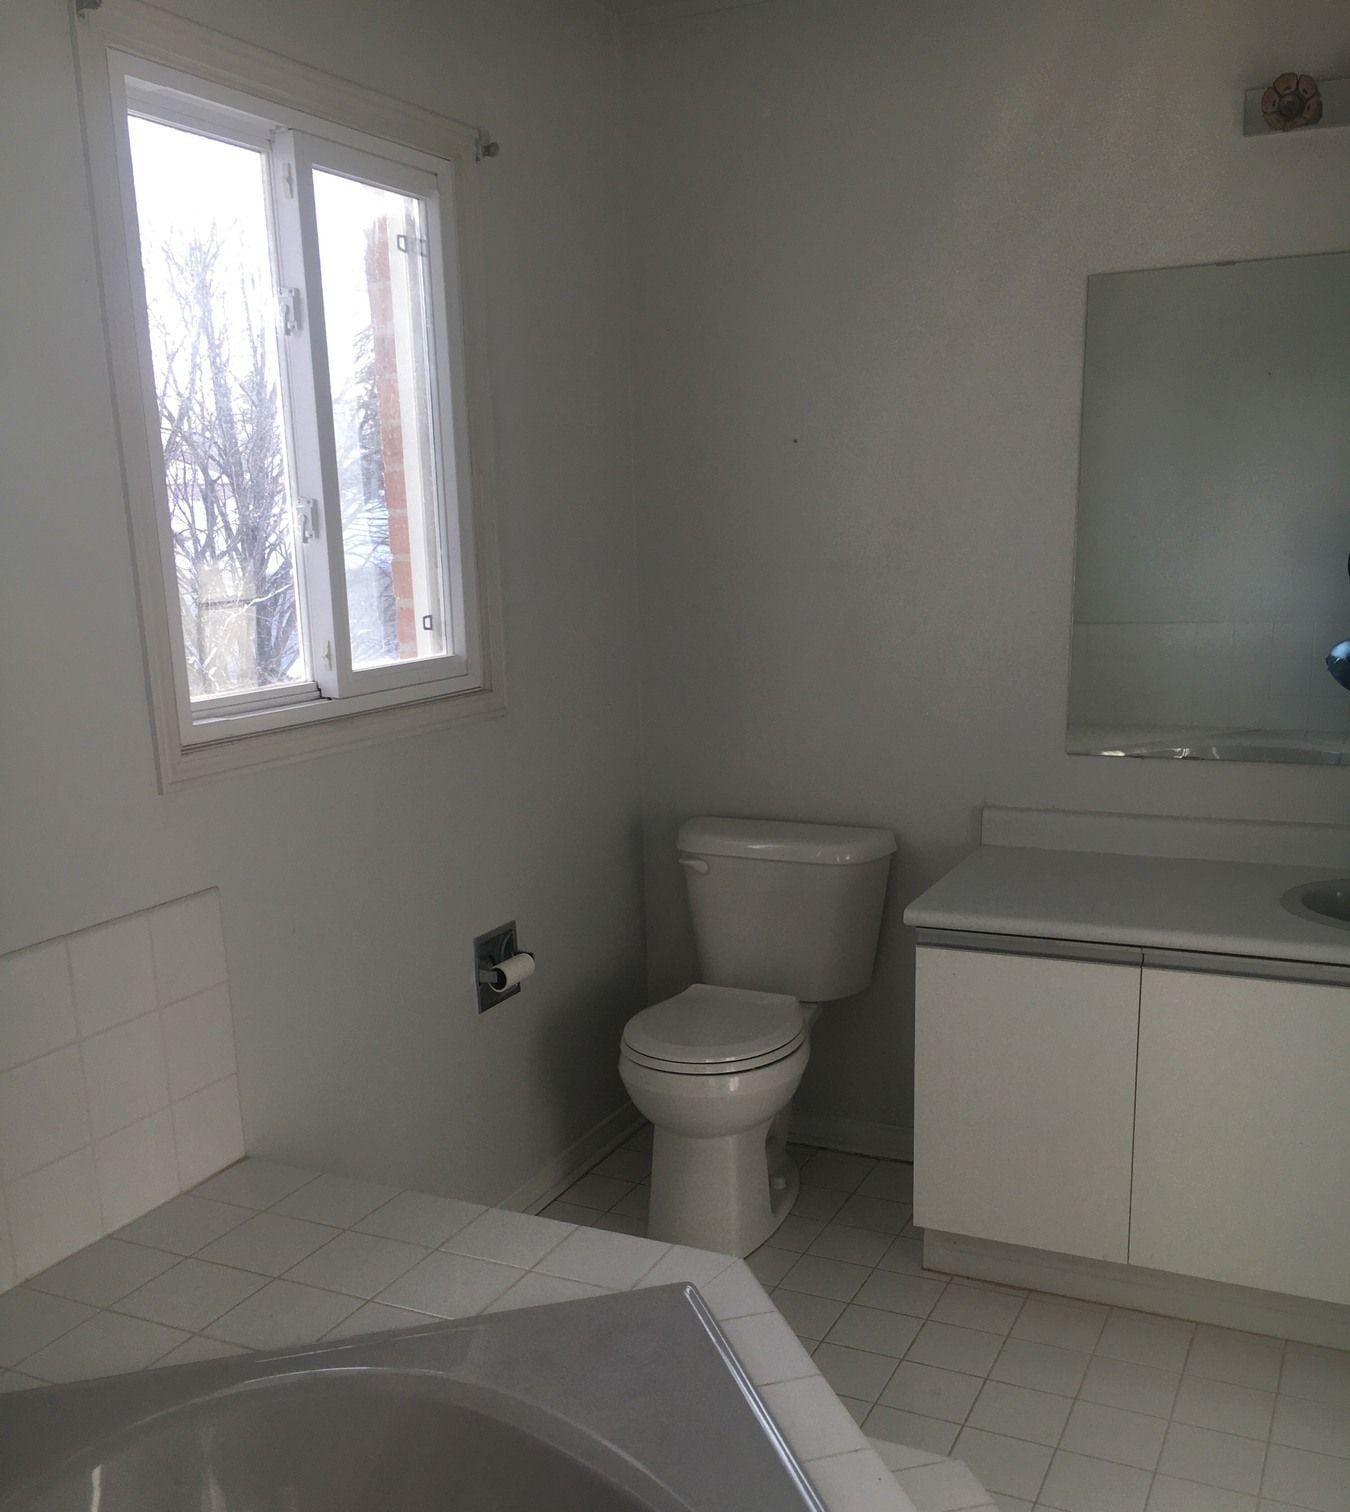
If you have been thinking about replacing a cramped shower stall or unused bathtub in your Aurora home, a custom tiled walk-in shower is one of the most rewarding ways to make the most of your space. Across Aurora, calls for custom walk-in showers usually start with one of two rooms. In Bayview Northeast, Bayview Wellington, Bayview Southeast and Aurora Grove, two-storey houses built in the 1990s and 2000s almost always have a four-piece primary ensuite where a huge corner whirlpool tub deck sits beside a narrow 32- or 36-inch framed shower stall. Taking out both the corner deck and the cramped stall frees up an entire wall for a generous frameless glass walk-in shower with a stone bench, recessed niches and overhead rain and hand shower heads.
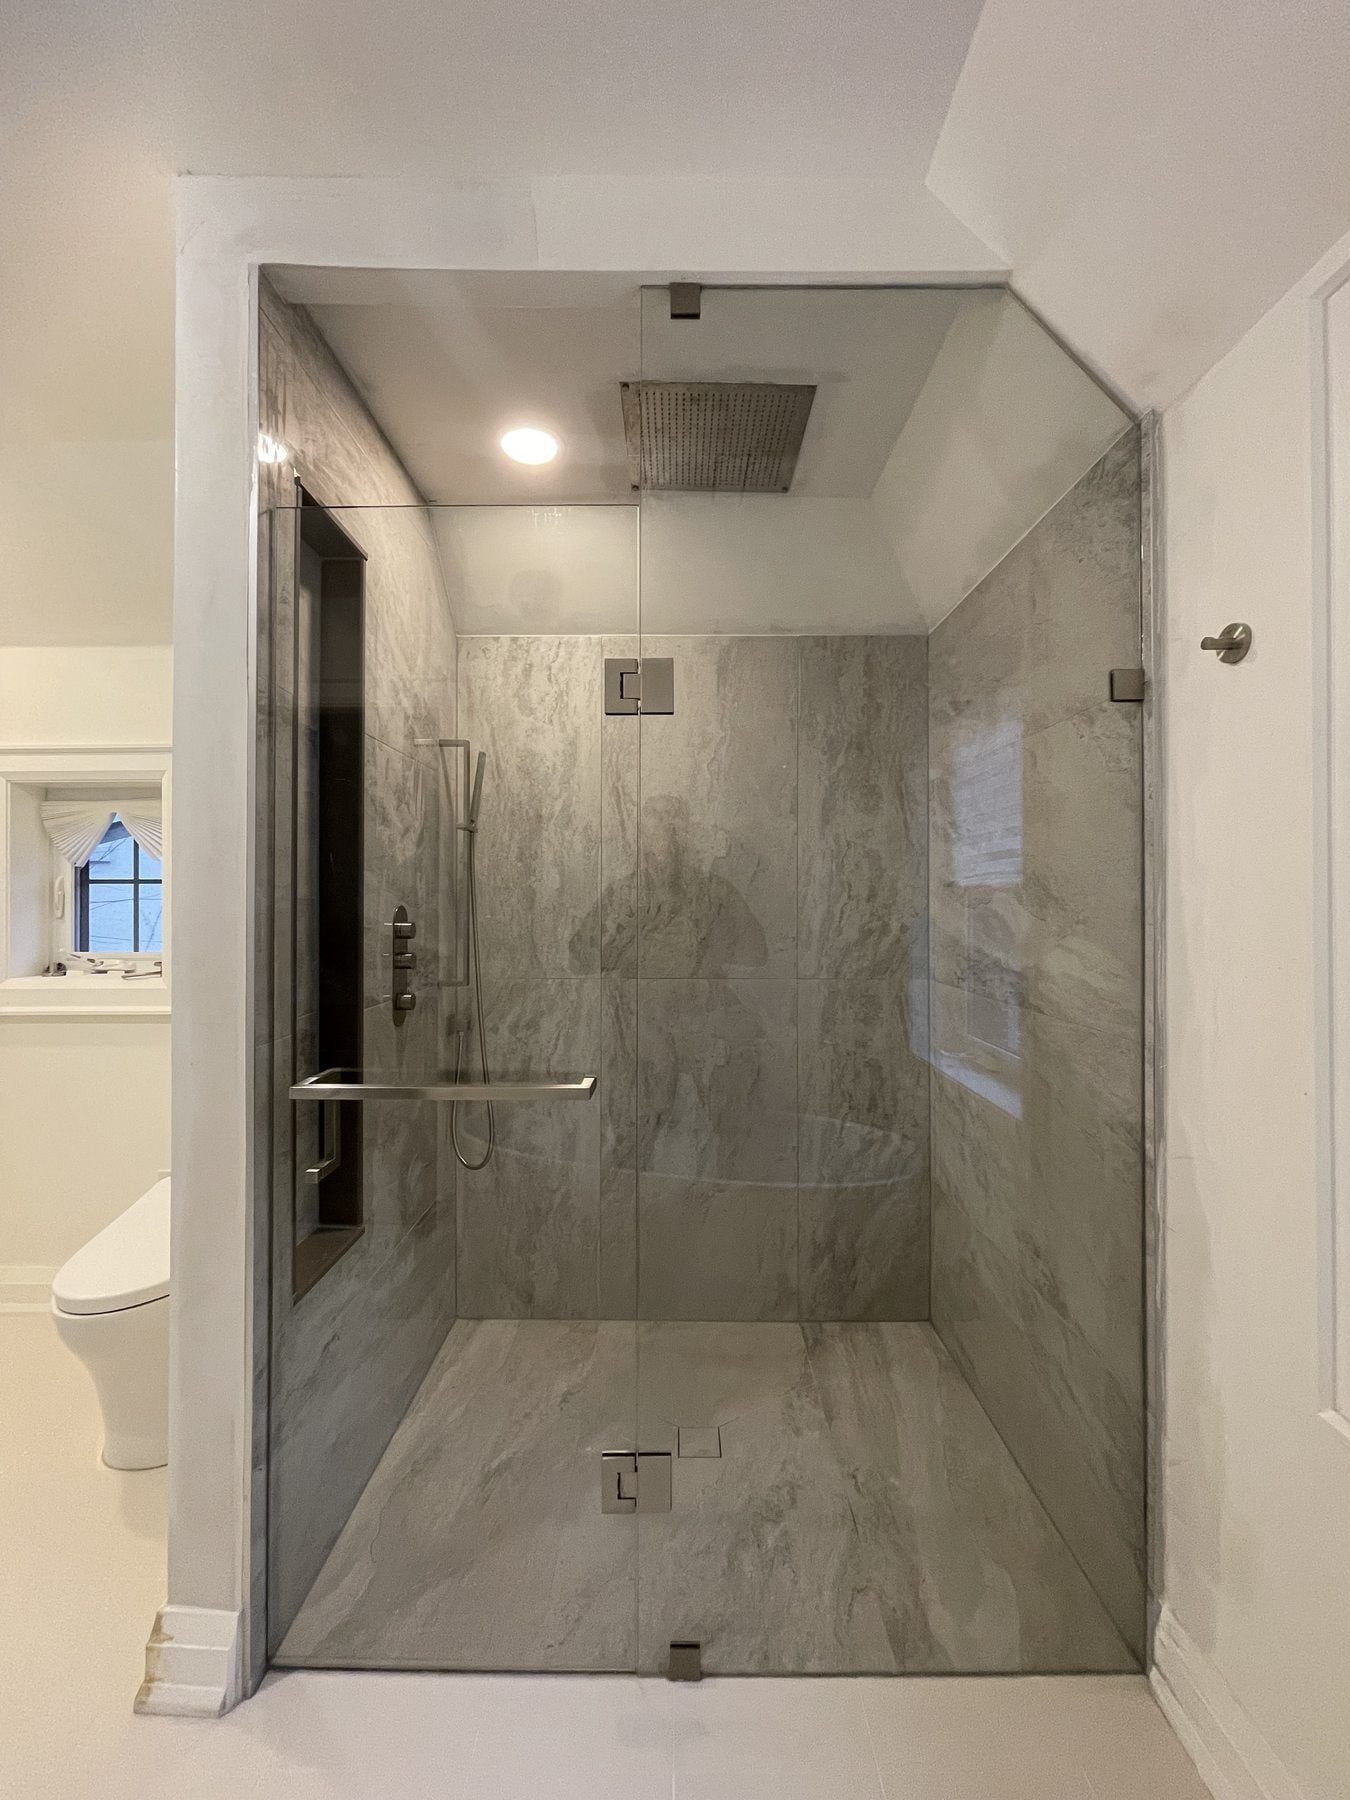
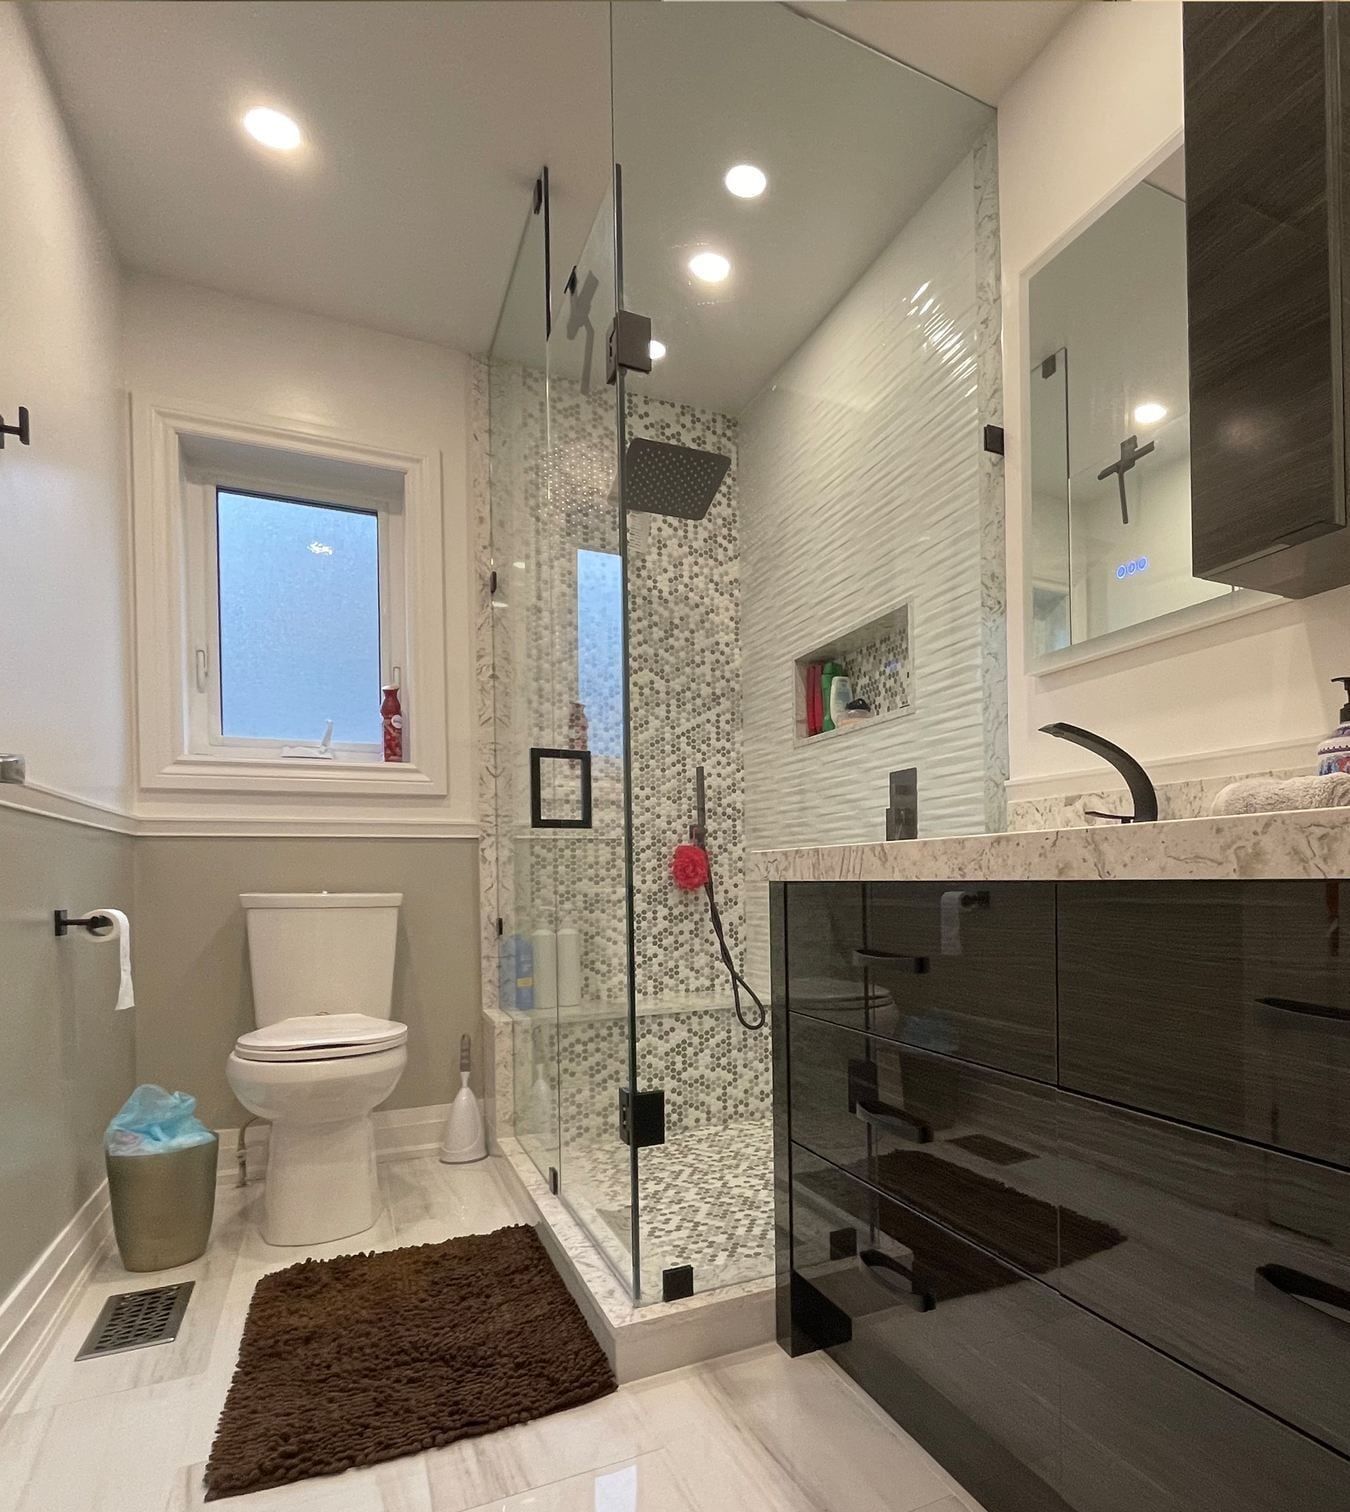
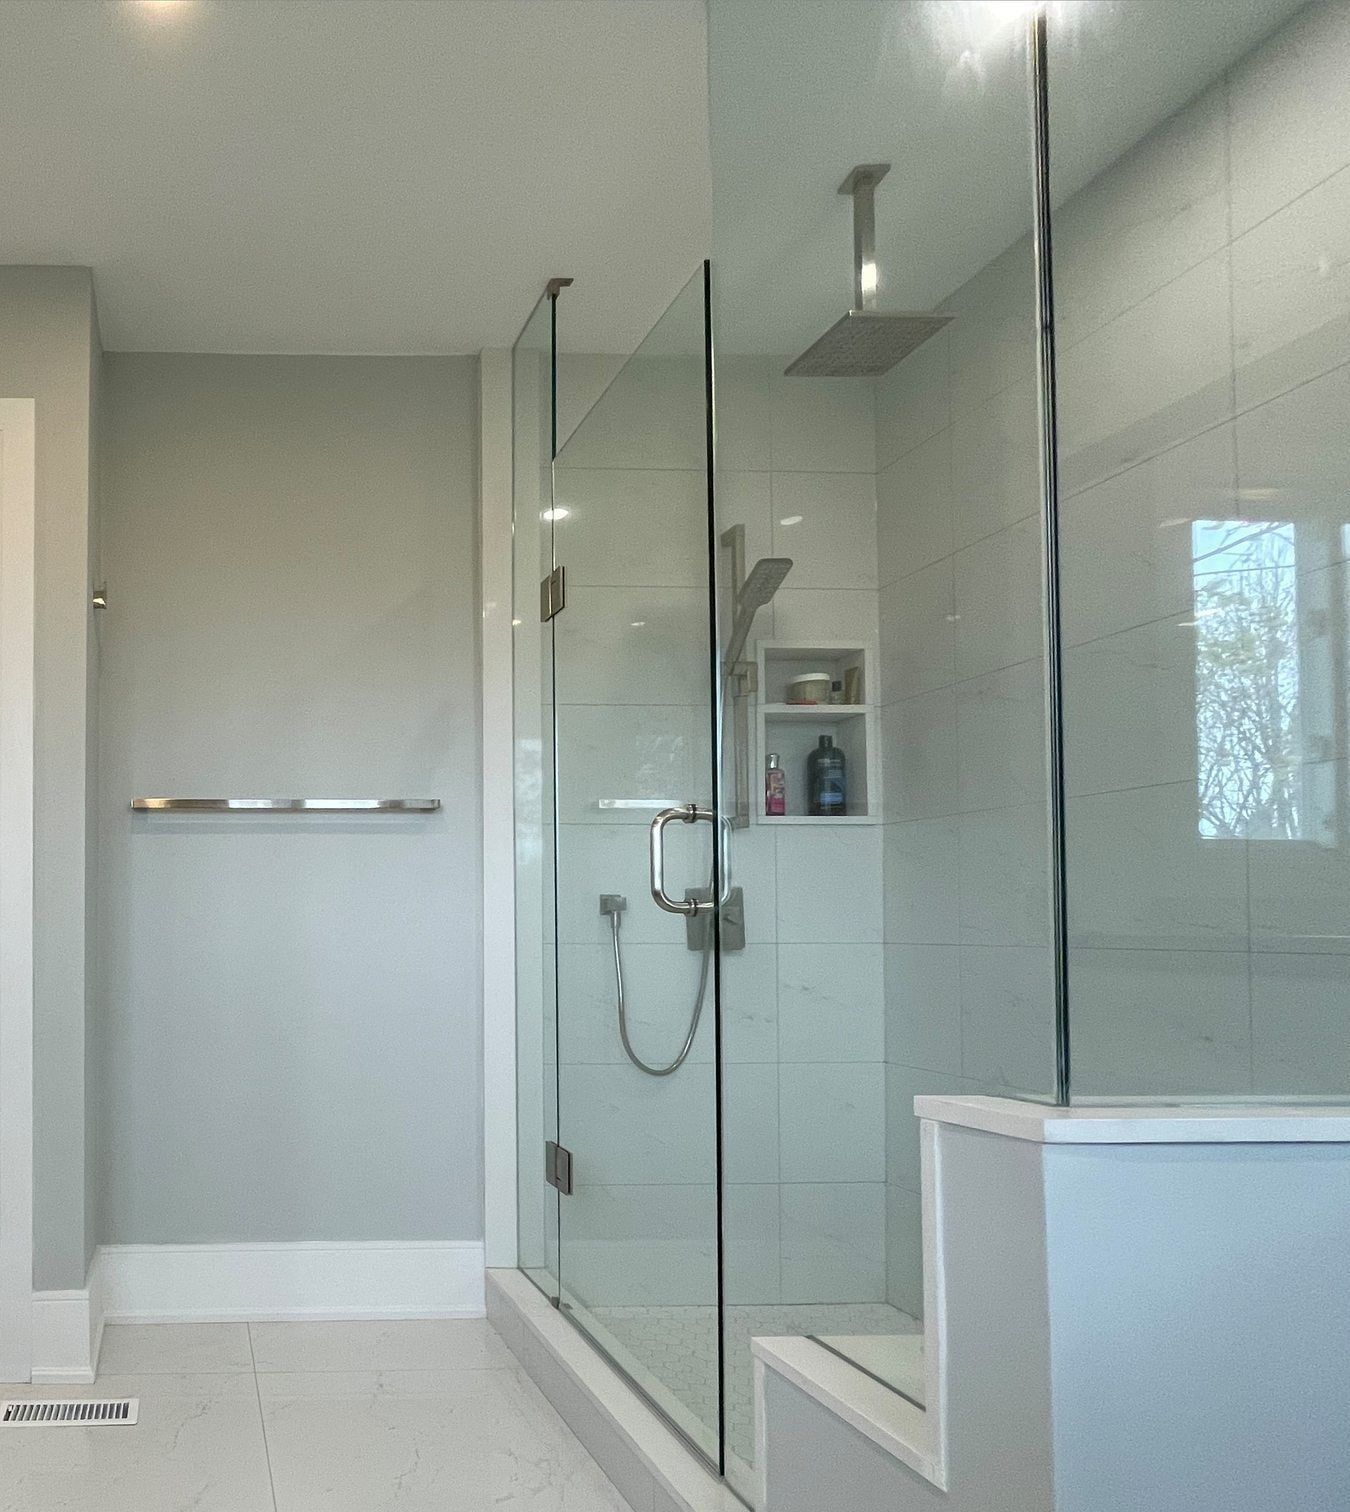
In Regency Acres, Aurora Village, Aurora Heights and Aurora Highlands, the goal is often converting a 60-inch alcove bathtub into a bright, easy-entry walk-in shower—just like our frameless marble walk-in shower case study, where we built a 10 mm frameless glass enclosure with a flush ceiling rainfall head, a solid marble slab bench and a tall contrasting vertical niche.
If you are planning for aging in place or modifying a bathroom for a family member with reduced mobility, building a curbless or low-threshold entry, a fold-down or tiled seat, a slide-bar handheld sprayer and solid wood blocking behind the tile for grab bars is straightforward while the studs are open. Visit our accessible bathrooms in Aurora page for barrier-free details.
Key design choices for your walk-in shower
Curbless (zero-threshold) vs. low-curb entry
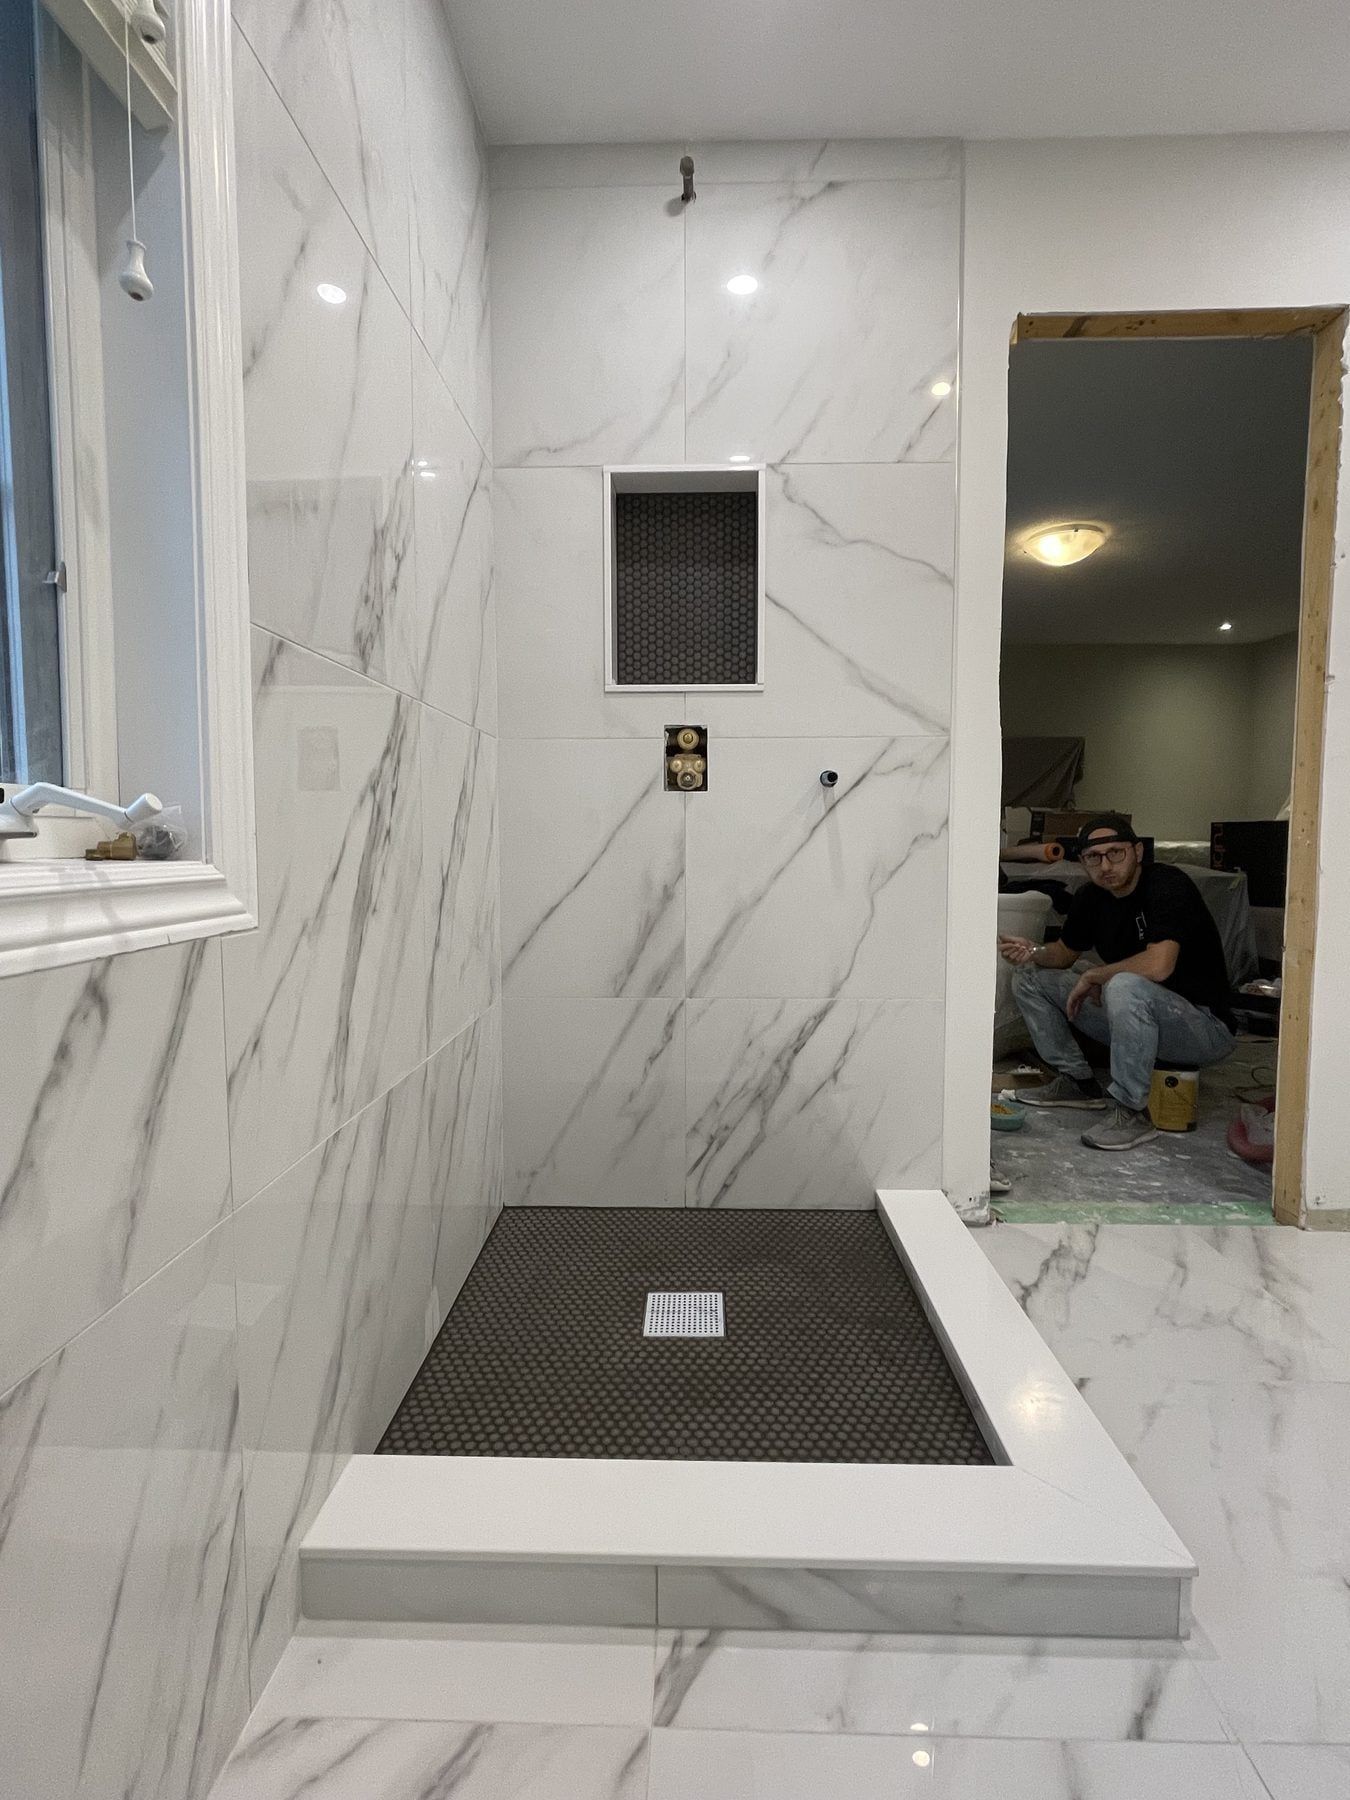
A curbless shower continues the main bathroom floor tile directly into the shower pan with no step at the glass line. It opens up sightlines, is easy to mop, and removes any tripping hazard. Because the shower floor still needs a 2% slope toward the drain, our crew either recesses the subfloor between the joists or builds a slight transition across the outer floor. On a wood-framed second floor in Aurora, we inspect joist type, depth and span before confirming a recessed curbless pan.
A low-curb shower sets a slim 3-to-4-inch quartz or tiled curb beneath the glass door. It installs cleanly over any upstairs floor framing without structural alterations, keeps water inside the wet zone reliably, and costs less in carpentry than recessing the joists.
Linear channel drains vs. centre point drains
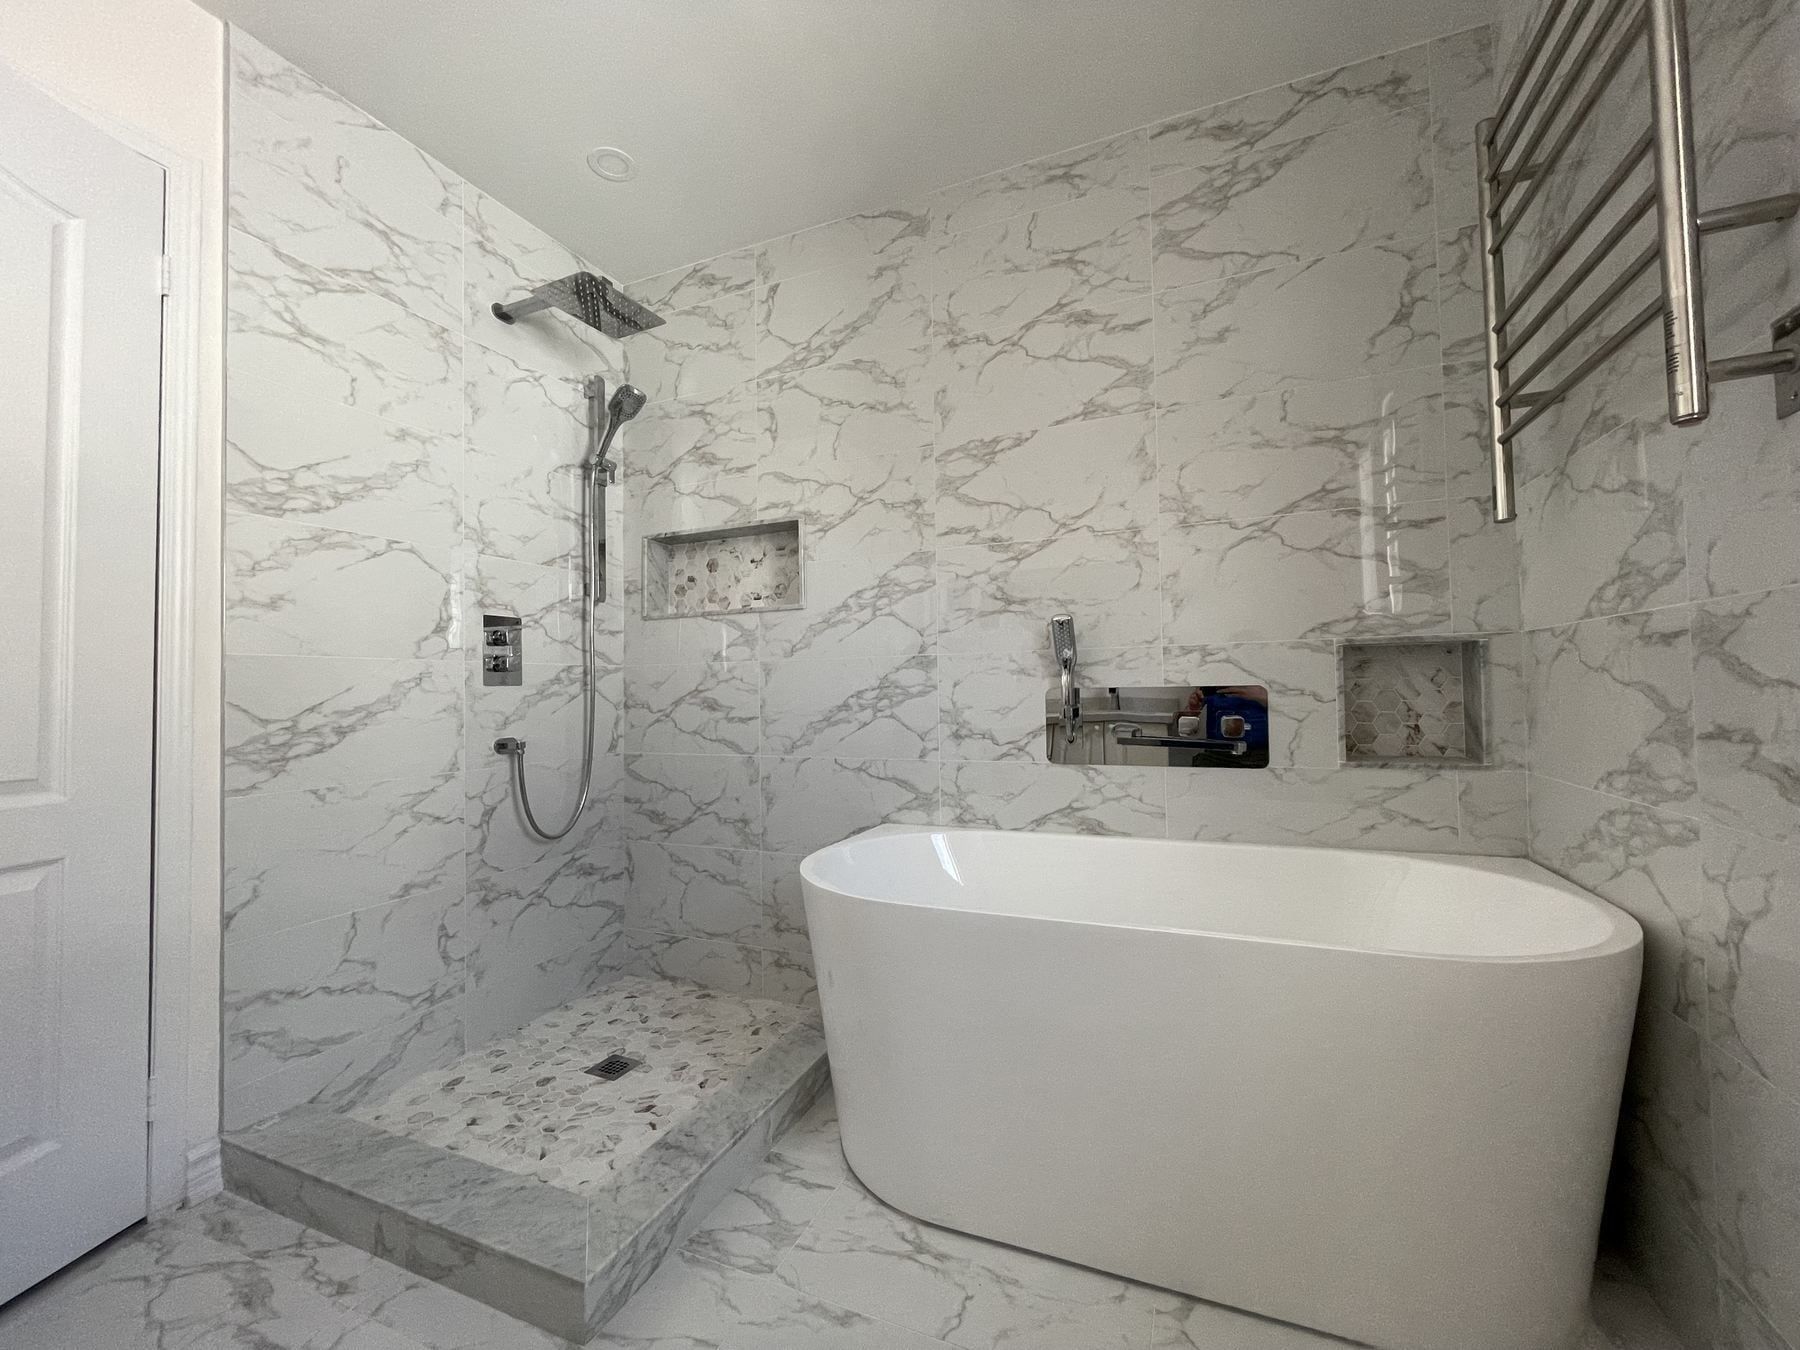
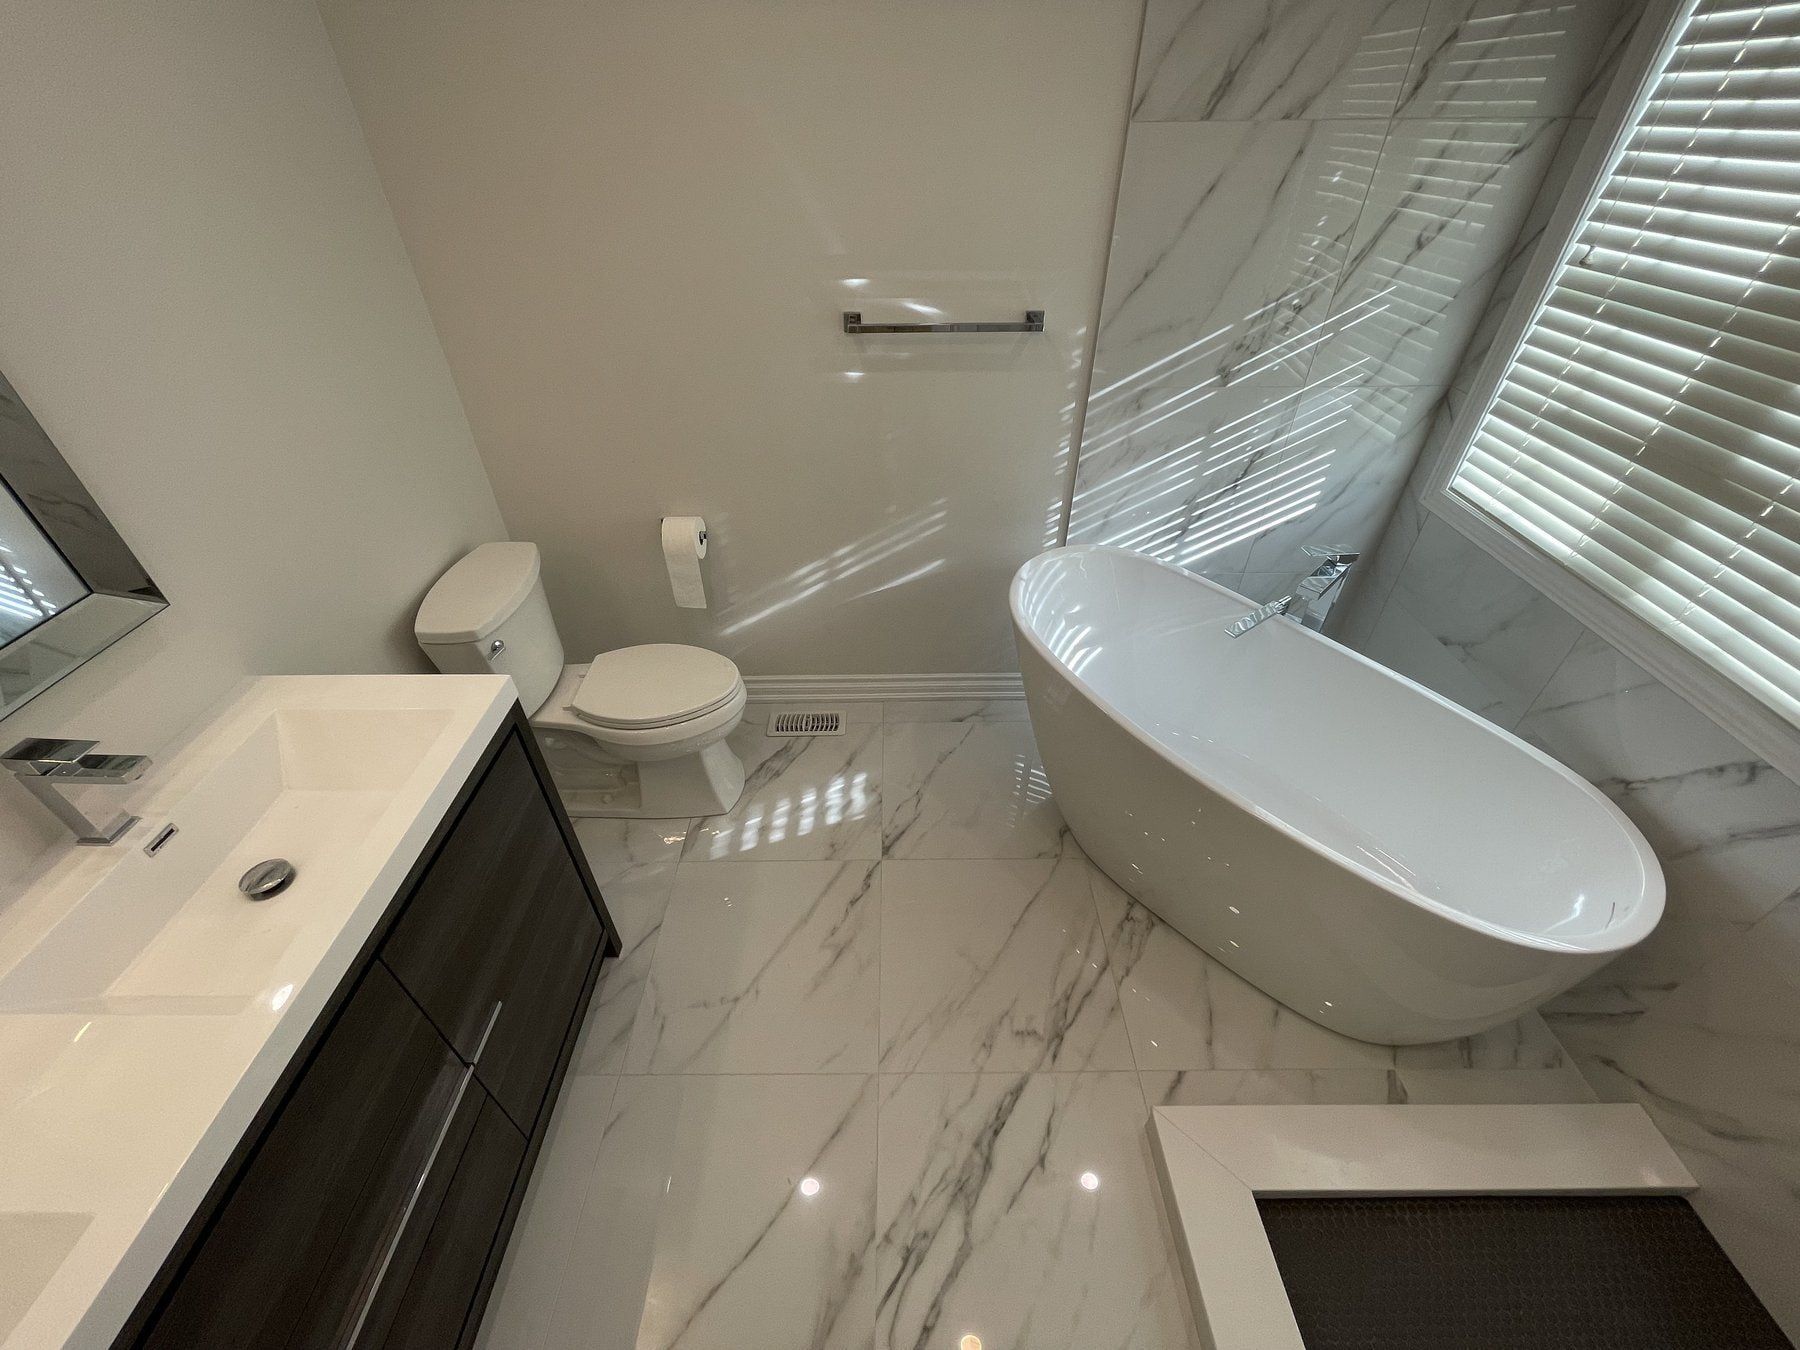
A linear drain runs along one wall or across the shower threshold so the entire floor pitches in a single flat plane. That single-plane slope lets us continue large-format porcelain slabs right into the shower pan without cutting diagonal envelope lines. A centre point drain slopes from all four sides toward the middle, pairing naturally with 2-inch hex, square or pebble mosaic sheets for extra wet traction underfoot—as shown in our freestanding tub and pebble-floor primary bathroom.
10 mm frameless glass, recessed niches and stone benches
Depending on your room width and fixture clearance, we fit a fixed frameless splash panel, a hinged door-and-panel enclosure, or sliding frameless doors with chrome, brushed-brass or matte-black hardware. Every glass panel is laser-measured after the wall tile is grouted so it fits out-of-plumb walls without heavy metal channels.
Inside the shower, we frame recessed shampoo niches aligned cleanly with your tile joints—with optional warm LED strip lighting—and build waterproofed corner or full-width benches capped with solid quartz or marble slabs.
What a walk-in shower costs in Aurora
When a custom walk-in shower is built as part of a primary ensuite or wet-room remodel, our published labour packages show the exact installation scope prior to finish materials:
| Bathroom | What's included | Labour from |
|---|---|---|
| 4-piece primary ensuite with curbless shower9 x 12 ft |
| $11,500 |
| Wet room with shower and jetted tub15 x 8 ft |
| $15,000 |
Labour and installation only; finish materials (tile, tub, fixtures, vanity, glass) are extra. Prices in CAD before HST, updated November 7, 2026.
Finish materials—porcelain or stone tile, the drain assembly, thermostatic or pressure-balanced valve and trim, and custom glass—are priced separately so you can choose the exact fixtures you prefer. If we are converting an alcove tub or rebuilding only the shower enclosure while keeping your existing vanity and toilet, we quote the scope line by line; a complete curbless accessible shower conversion of ours averages around $15,000 all-in. Check our Aurora bathroom renovation cost page for per-square-foot tile rates and trade line items.
Seven steps behind a watertight tiled shower
- Demolition to bare framing. We protect your hallways and remove the old acrylic stall, tub deck, tile and drywall down to the wood studs.
- Subfloor and joist inspection. We check for old moisture damage, stiffen framing, and recess the subfloor if building a curbless pan.
- Rough plumbing. Our plumber fits a new pressure-balanced or thermostatic shower valve, diverter and dedicated 2-inch drain trap.
- Niches, bench and wood blocking. We frame recessed niches and benches, bolt 2x8 lumber blocking for glass hinges and grab bars, and hang waterproof backer board.
- Continuous bonded waterproofing. Every wall, floor pan, curb, niche and bench receives a continuous waterproof membrane with sealed corner bands and drain flange collar.
- Tile layout and setting. Wall slabs and floor tile are set with levelling clips to your approved drawings, grouted, and sealed with 100% silicone at all plane changes.
- Shower trim and custom glass. Shower heads and controls are fitted, and custom 10 mm tempered glass is measured and mounted. See our renovation process page.
Town of Aurora permits and upstairs joist framing
Moving or upsizing a shower drain requires a permit. Rebuilding a shower in the exact same spot on an existing 2-inch drain trap does not require a municipal building permit. Relocating the drain across the floor—such as when combining a corner tub and stall into one larger shower—or changing a 1.5-inch tub waste to a 2-inch shower trap is a plumbing alteration that requires a permit through the Town of Aurora Building Division. Source: Town of Aurora: Plumbing and Drain Permit Application & Building Division Guidelines (accessed November 7, 2026) Read our article on Aurora bathroom renovation permits.
Engineered wood I-joists vs. dimensional lumber. Many 2000s homes in Bayview Northeast and Bayview Wellington were framed with engineered wood I-joists upstairs, which cannot be notched without an engineered detail. We check your floor framing during our on-site visit and confirm whether a recessed curbless pan or a slim low-profile curb is the best structural fit. When building a basement bathroom, saw-cutting the concrete slab makes recessing a curbless shower pan straightforward.
Planning to remove a bathtub for your new shower? Visit our tub-to-shower conversion in Aurora page, or upload photos of your bathroom for a free itemized quote.
Before and after
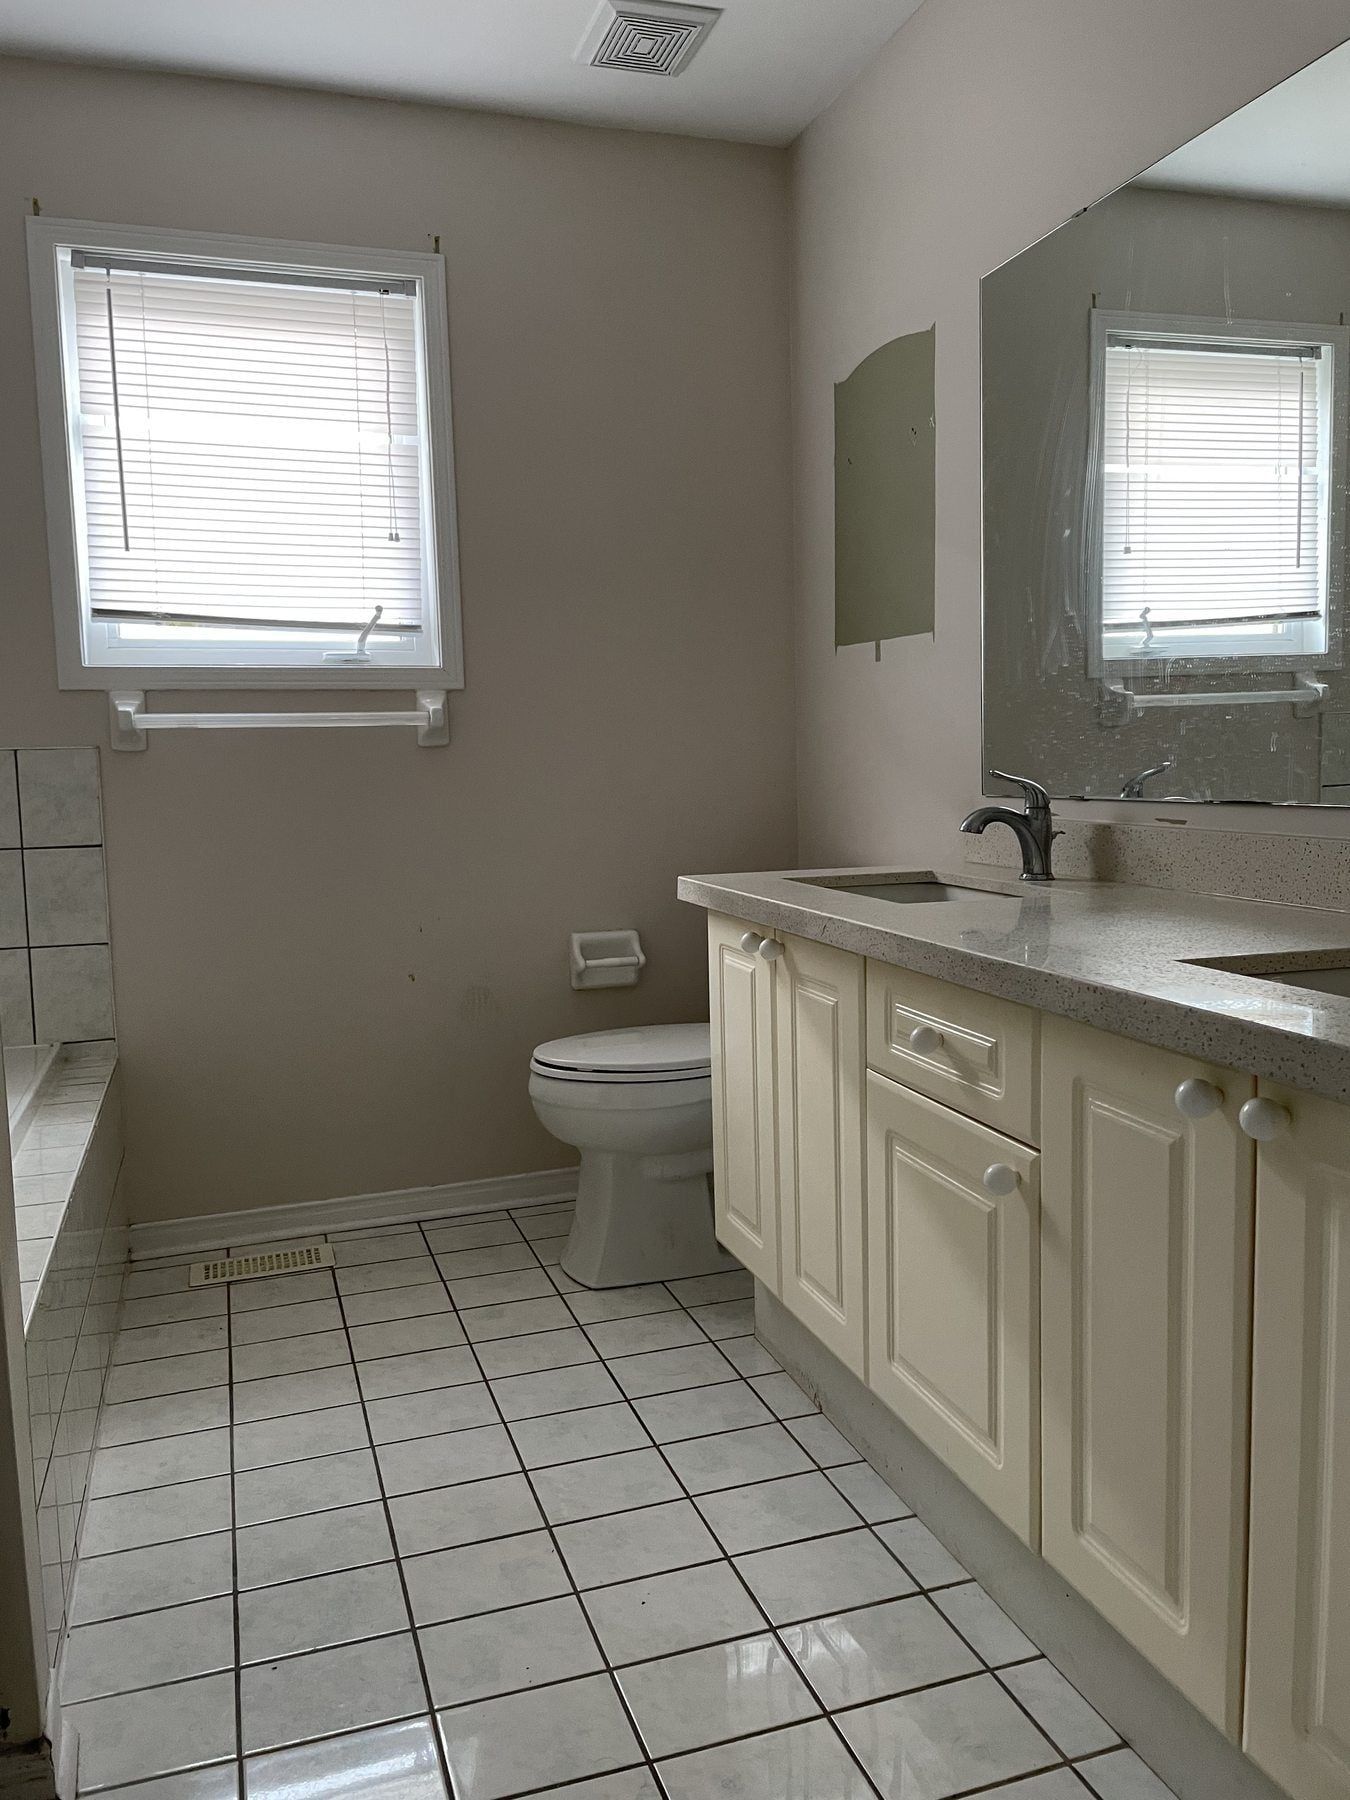
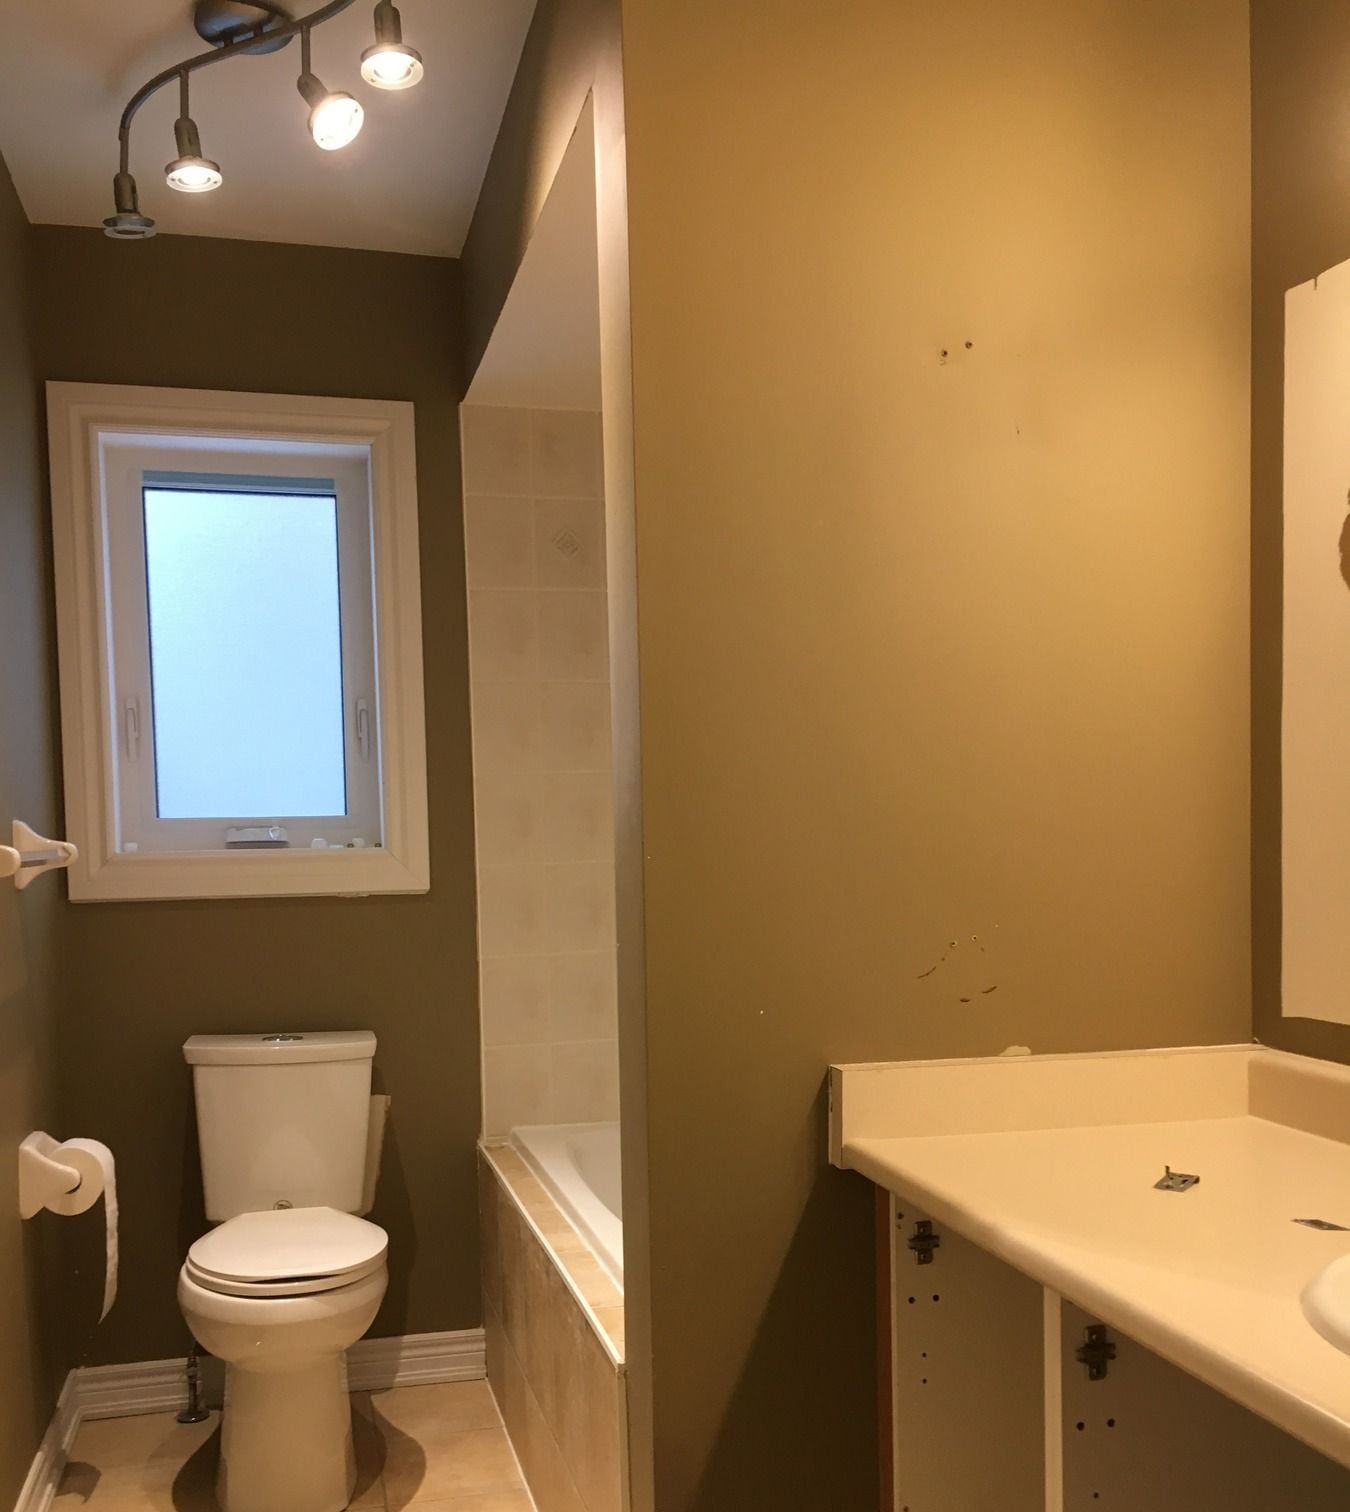
Real projects of this type. Drag the slider to compare.
Related projects
GTA project
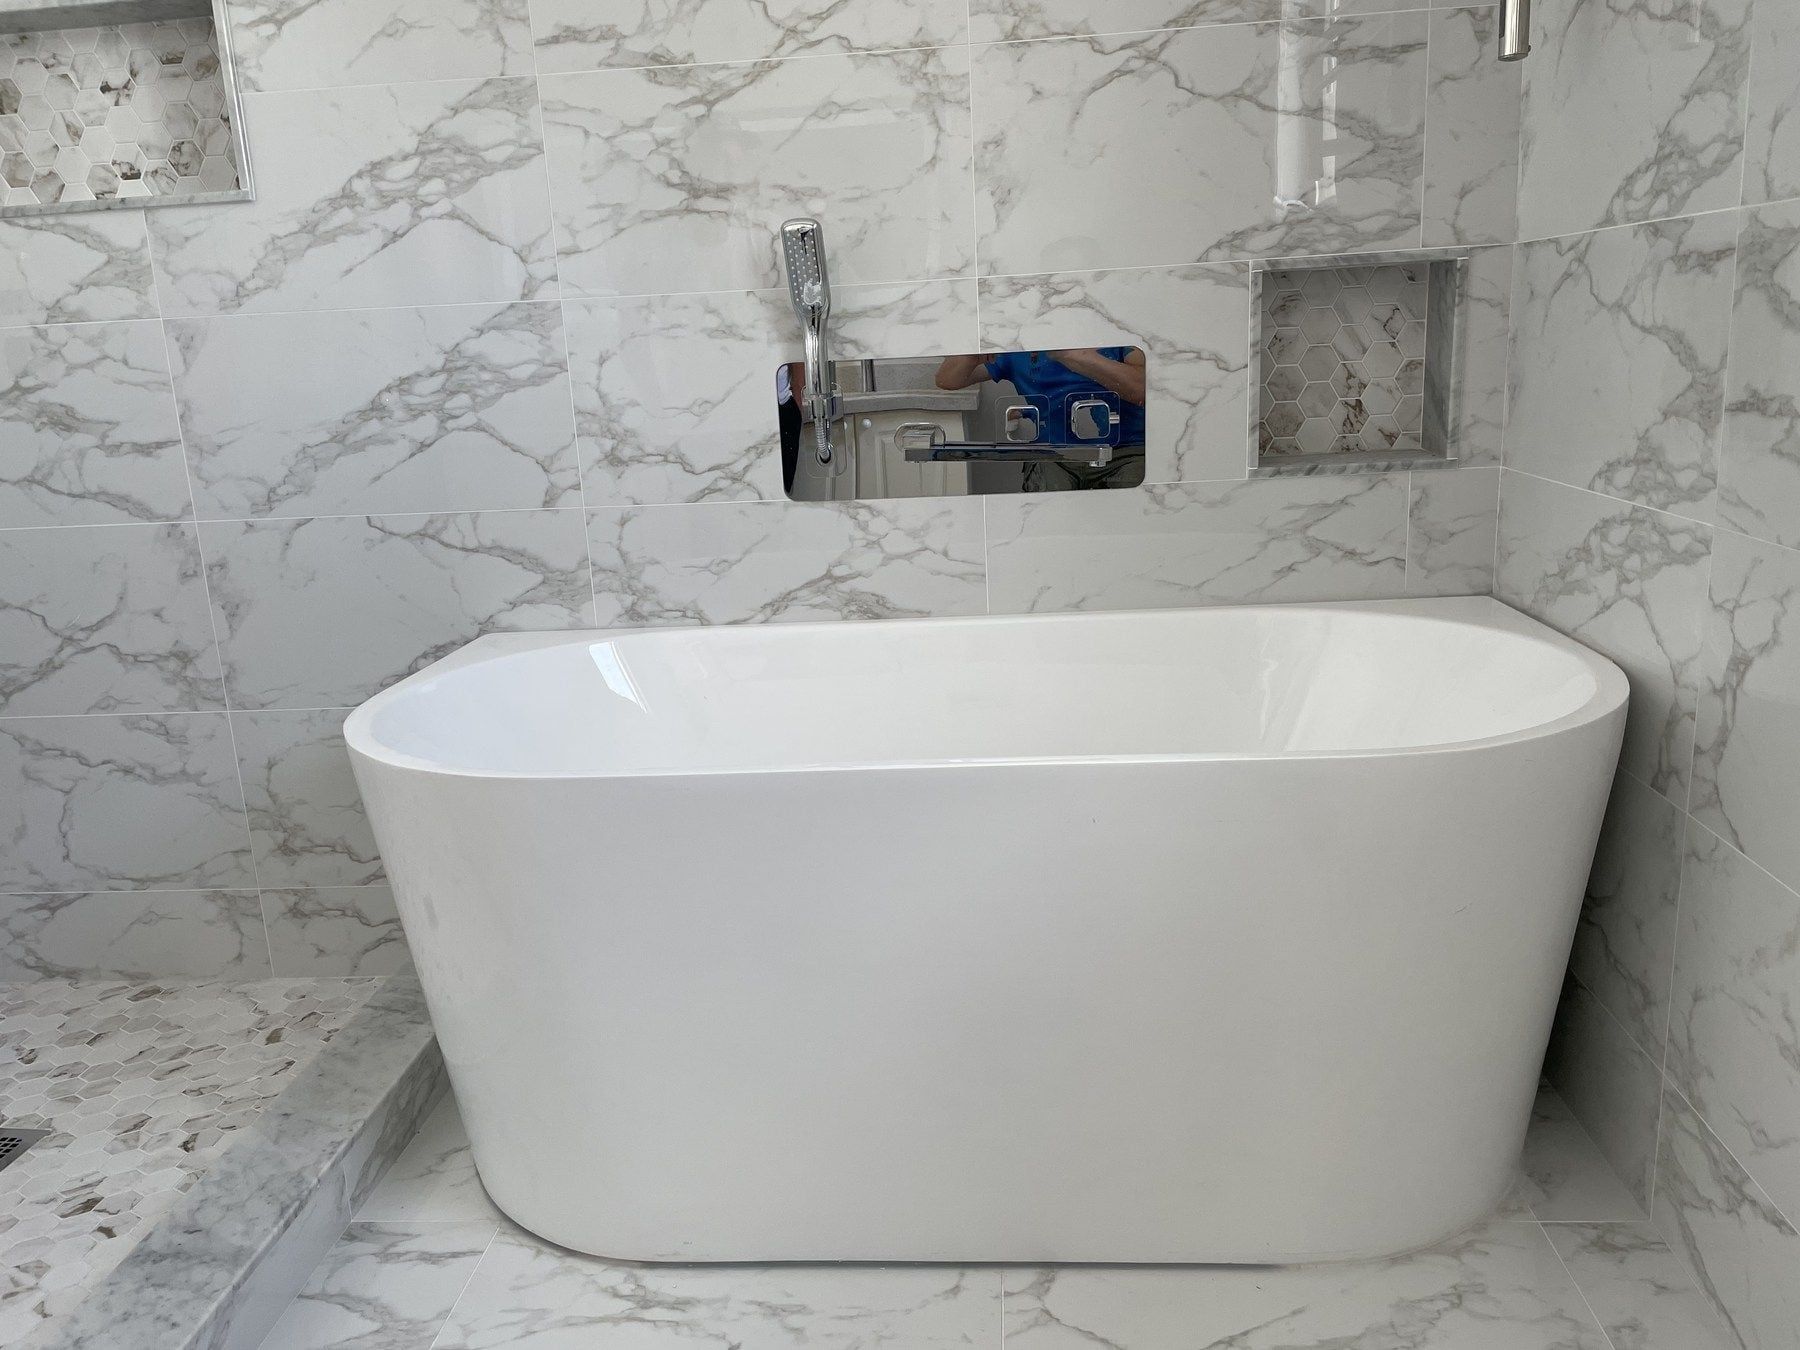
Primary bathroom with freestanding soaking tub, walk-in shower and pebble floor
An outdated wood-panelled primary bathroom stripped to the studs and rebuilt with floor-to-ceiling veined marble porcelain, an oval freestanding tub, a low-curb walk-in shower with pebble floor, hex-mosaic niches and a wall-mounted towel warmer.
GTA project
Frameless glass walk-in shower with ceiling rain head and marble bench
A compact 3-piece bathroom converted to a bright walk-in shower featuring 10 mm frameless glass, a flush ceiling-mounted rainfall head, a built-in marble slab bench, a tall contrasting niche and large-format veined porcelain.
GTA project
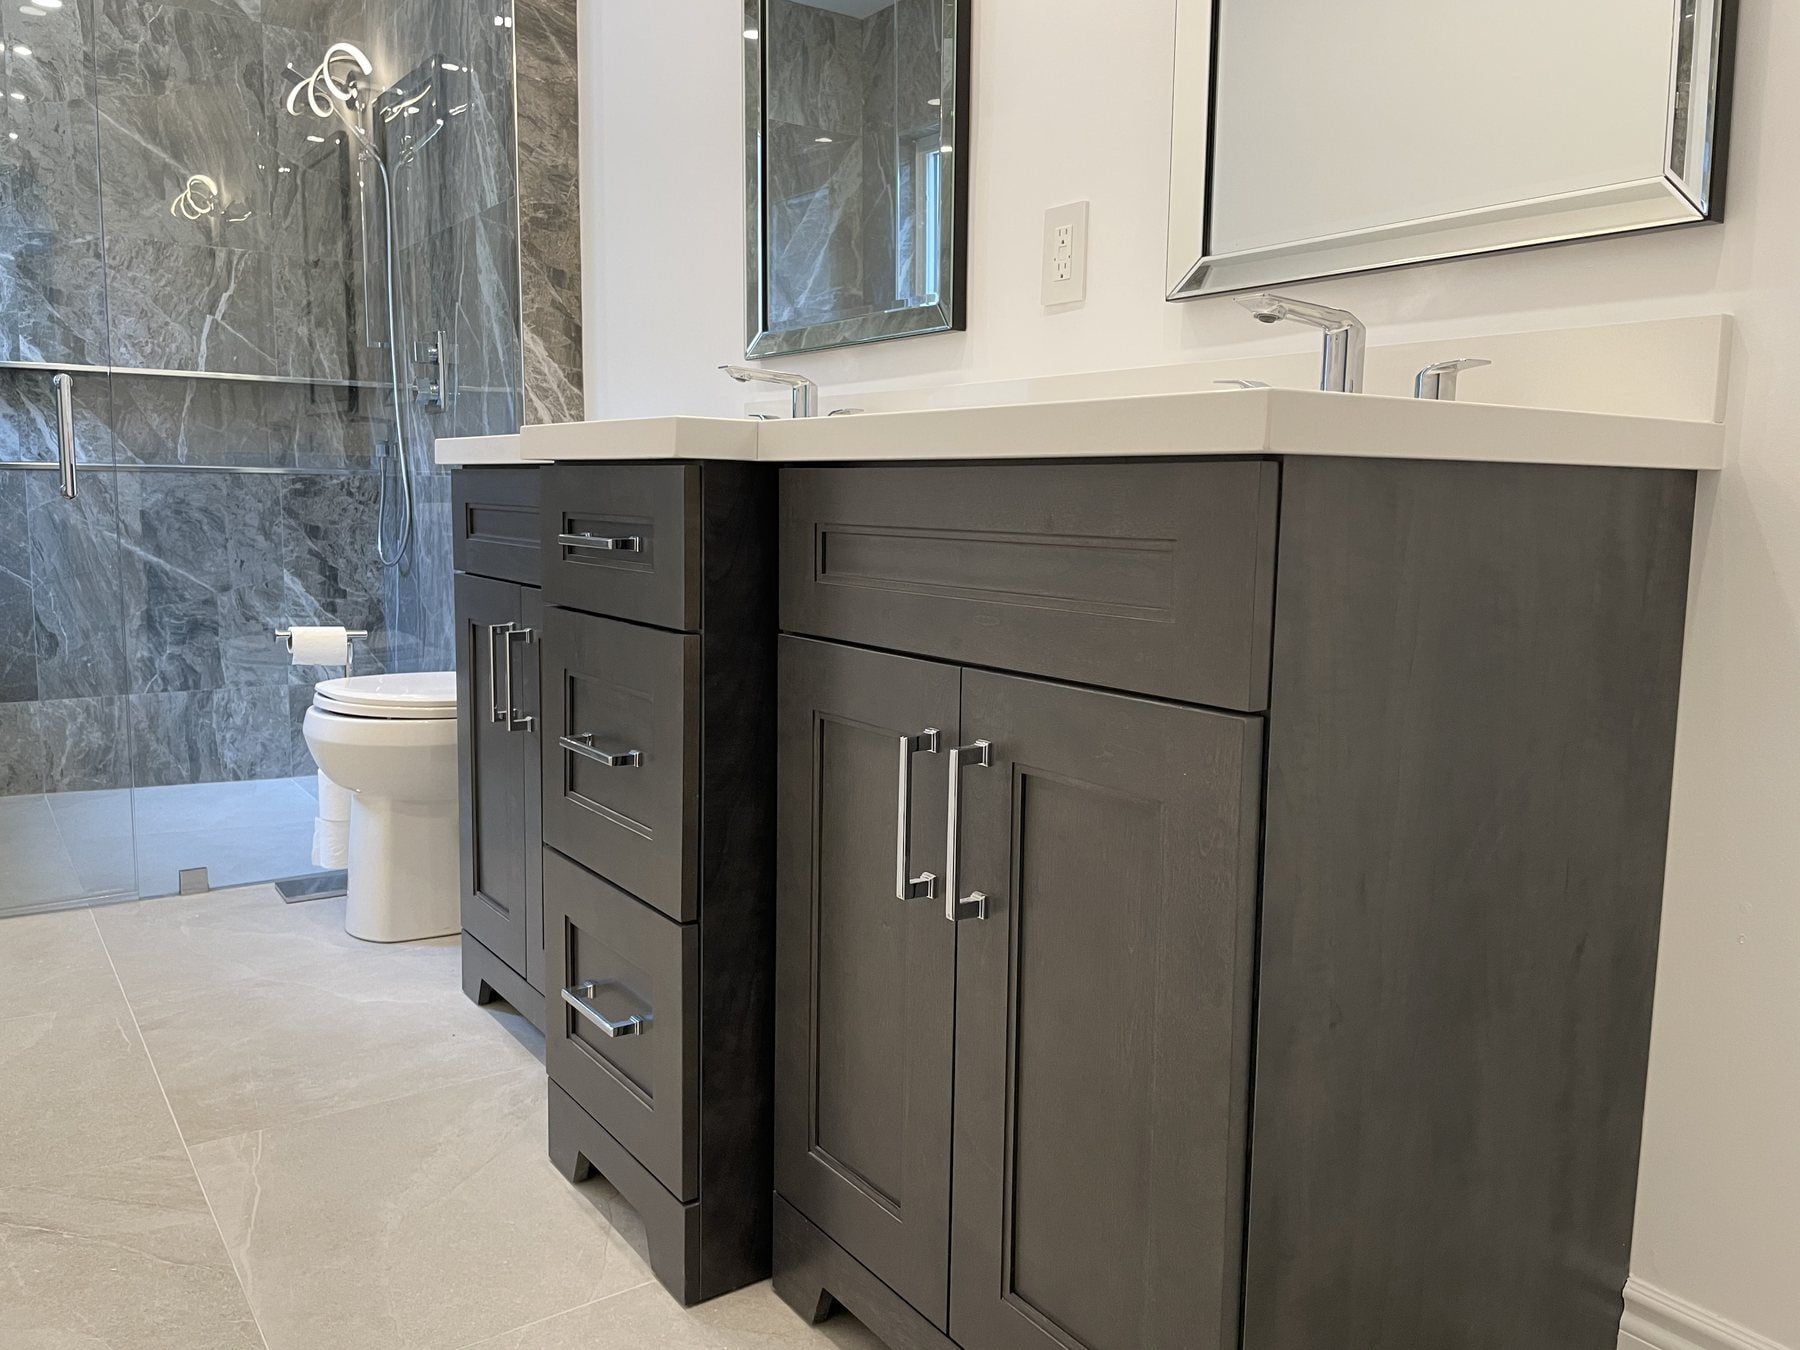
Primary ensuite with dark-wood double vanity and veined marble shower
A four-piece primary ensuite remodeled with a dark wood double-sink vanity, thick white quartz counter, twin framed mirrors, large-format veined marble wall slabs and a frameless glass walk-in shower.
Walk-in Showers: common questions
How do I decide between a curbless shower and a low-curb walk-in shower?
A curbless shower runs the main bathroom floor seamlessly into the shower pan with zero step, which is ideal for aging in place and modern ensuites, though it requires recessing the floor framing. A low tiled curb sits above the subfloor, keeping framing simpler and lowering the labour cost.
What is the advantage of a linear drain in a walk-in shower?
A linear channel drain allows the shower floor to slope in a single direction toward one wall, so large-format porcelain tiles can continue straight into the shower without awkward diagonal cuts. A traditional centre point drain requires a four-way slope and pairs best with 2-inch mosaic floor tiles.
Why is custom frameless shower glass measured after the tile is finished?
Tempered 10 mm glass panels cannot be cut or ground after they leave the tempering oven. Our glazier laser-measures the finished tiled opening once the curb and walls are set, fabricates the panels to the millimetre, and returns to install the hardware and clear seals.
How do you waterproof a tiled walk-in shower so it never leaks into the ceiling below?
Tile and grout are water-resistant, not waterproof. Behind every shower we install waterproof backer board, bond a continuous sheet membrane over every wall joint and screw hole, and seal the pan liner directly into the drain flange and mixing valve before any mortar or tile is applied.
Other bathroom services
Full Bathroom Renovation
Taken down to the studs and rebuilt with new plumbing, waterproofing, porcelain tile and fixtures.
Tub-to-Shower Conversion
Replace an unused alcove or corner bathtub with a spacious, easy-entry tiled walk-in shower.
Bathtub Replacement
Deep alcove soaker tubs, corner whirlpool removals and freestanding tubs with waterproofed tile surrounds.
Small & Condo Bathrooms
Compact 5 x 8 ft bathrooms and condominium suites along Yonge Street, Wellington Street and Bayview Avenue.
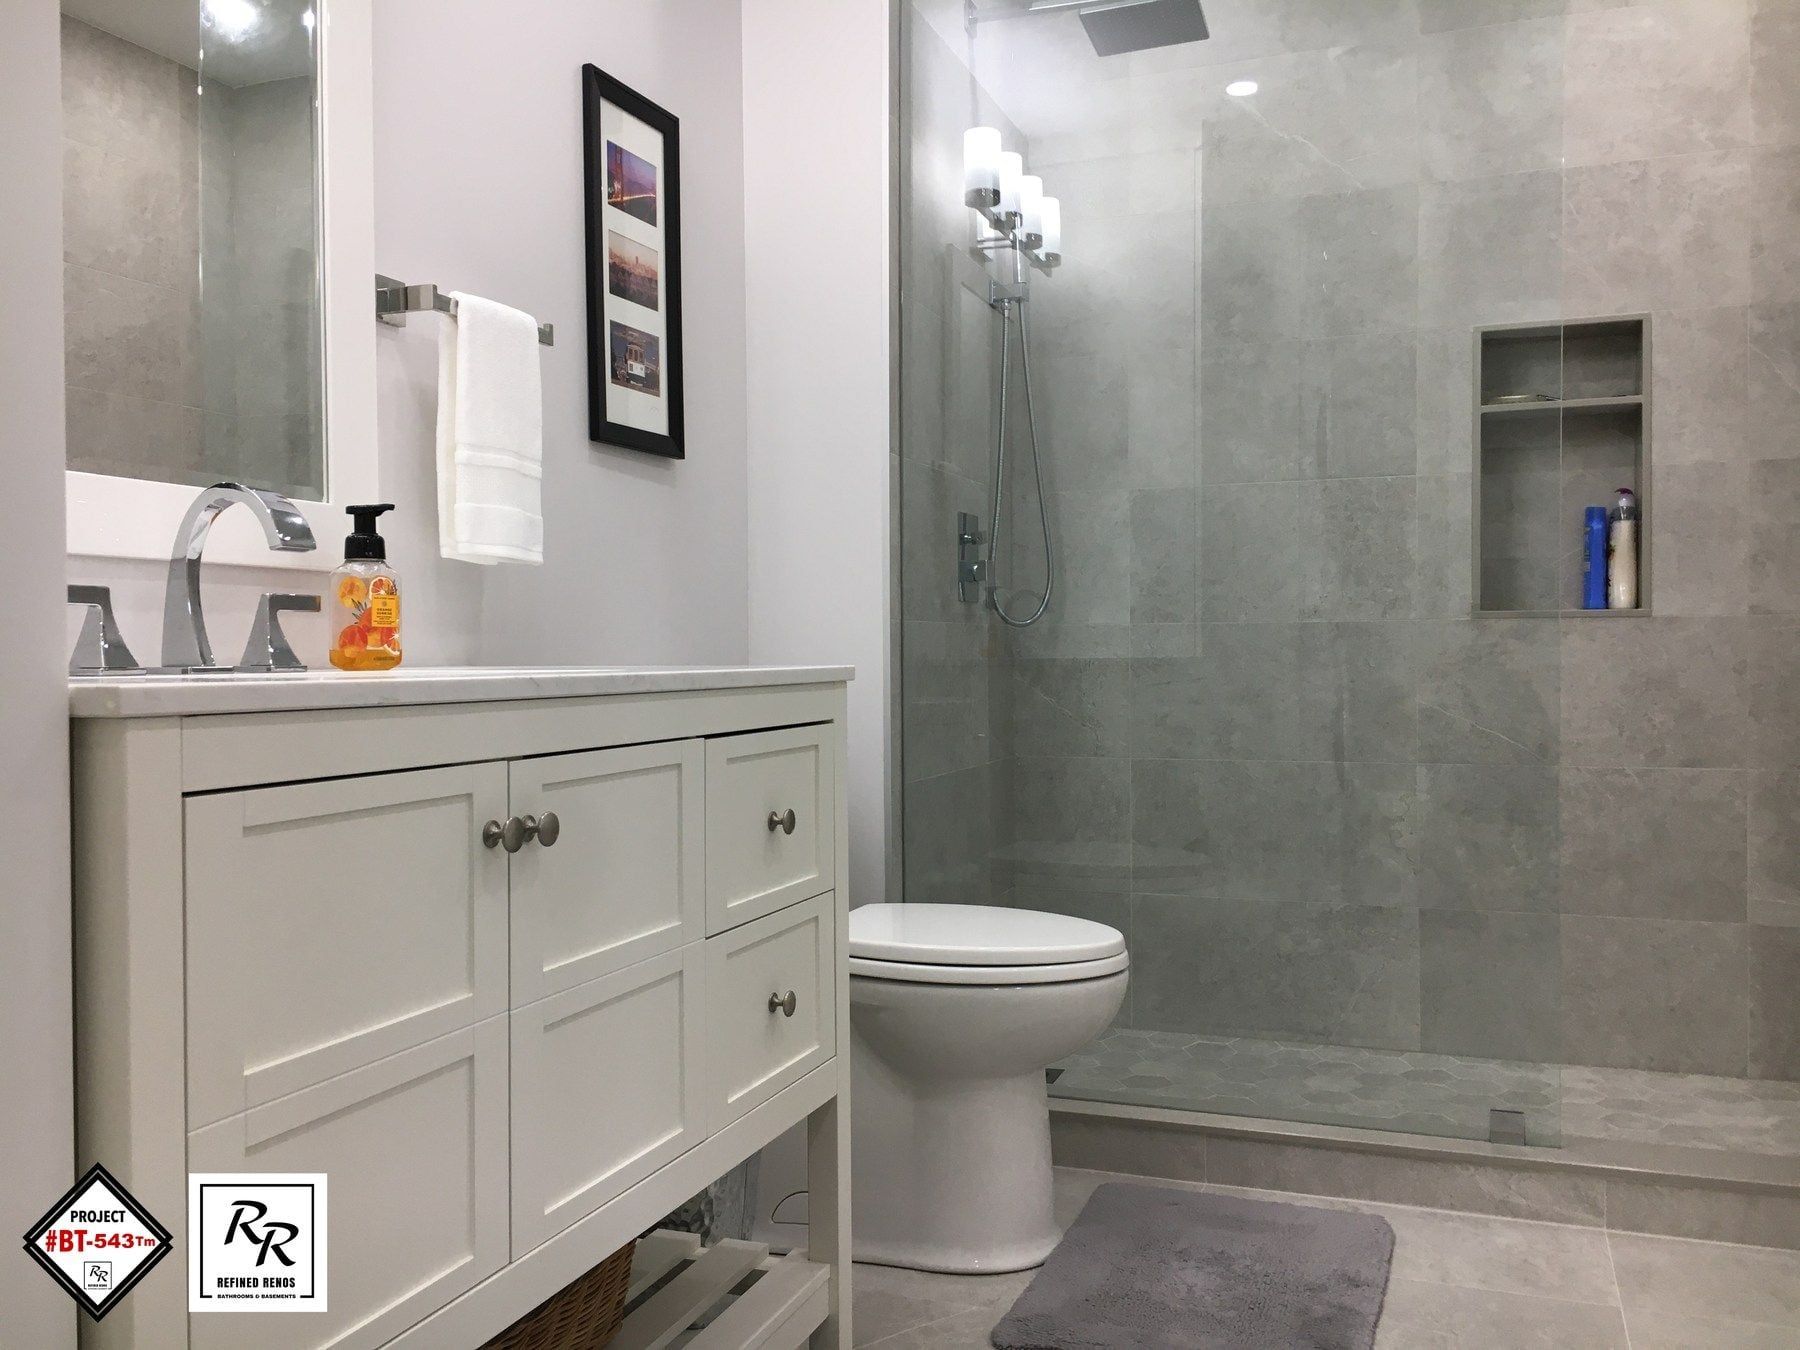
Basement Bathrooms
Three-piece basement bathrooms built on existing rough-ins or with new drains trenched through the slab.
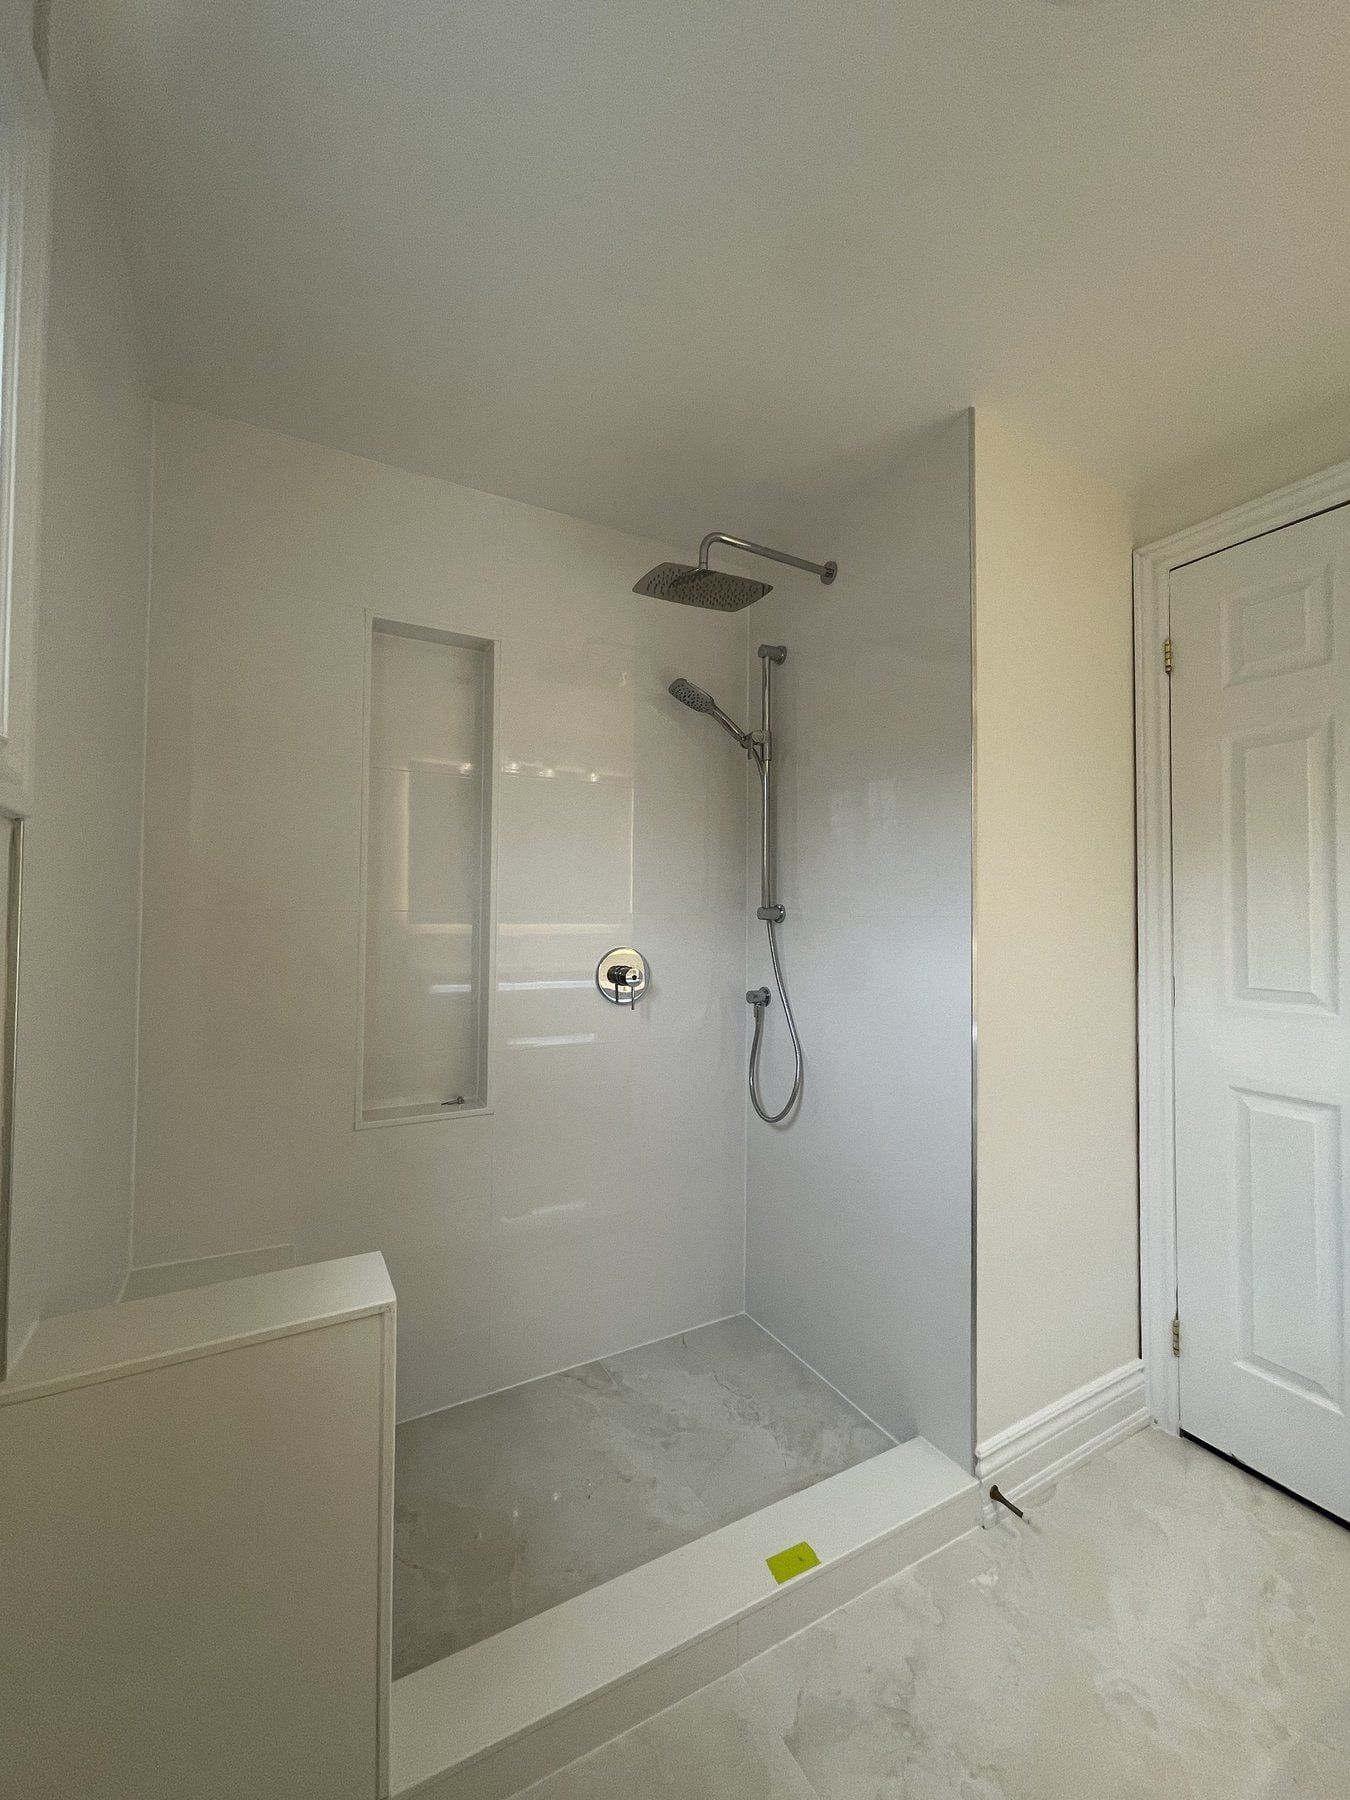
Accessible Bathrooms
Step-free curbless showers, fold-down seats, reinforced grab bars and comfort-height fixtures.
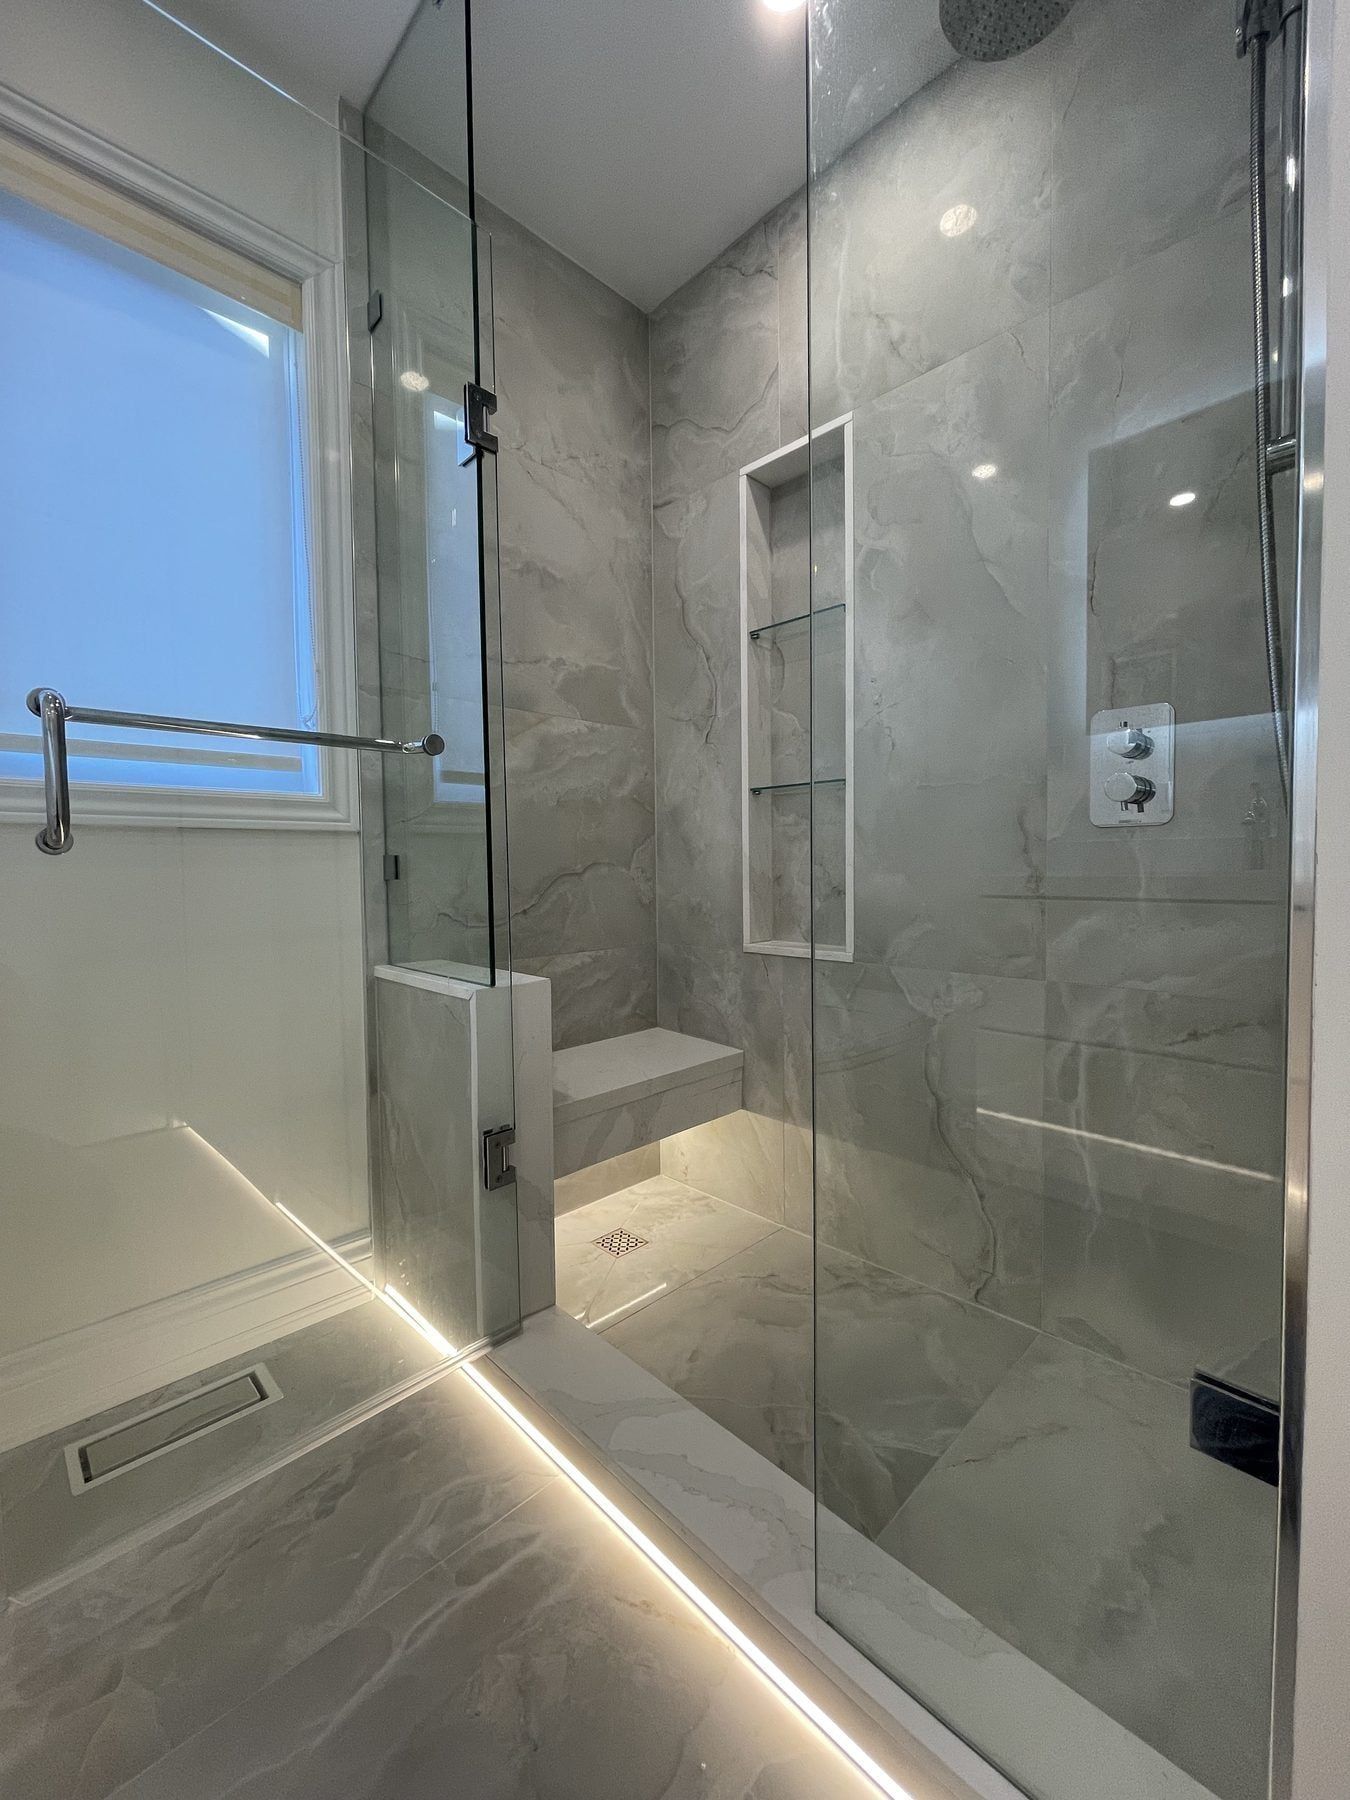
Bathroom Repairs
Ceiling water stains, leaking shower pans, attic fan ducts, mould and fixing unfinished contractor work.